
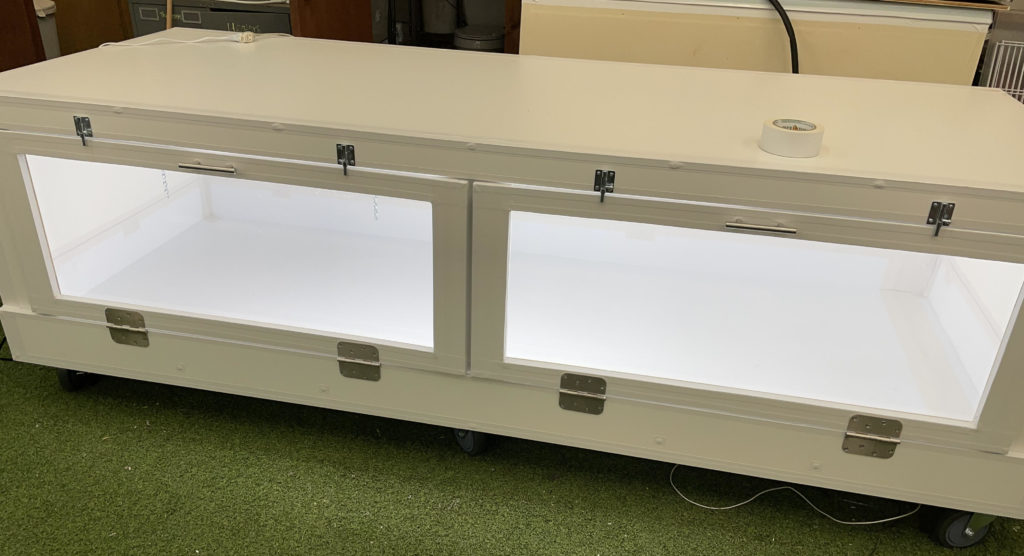
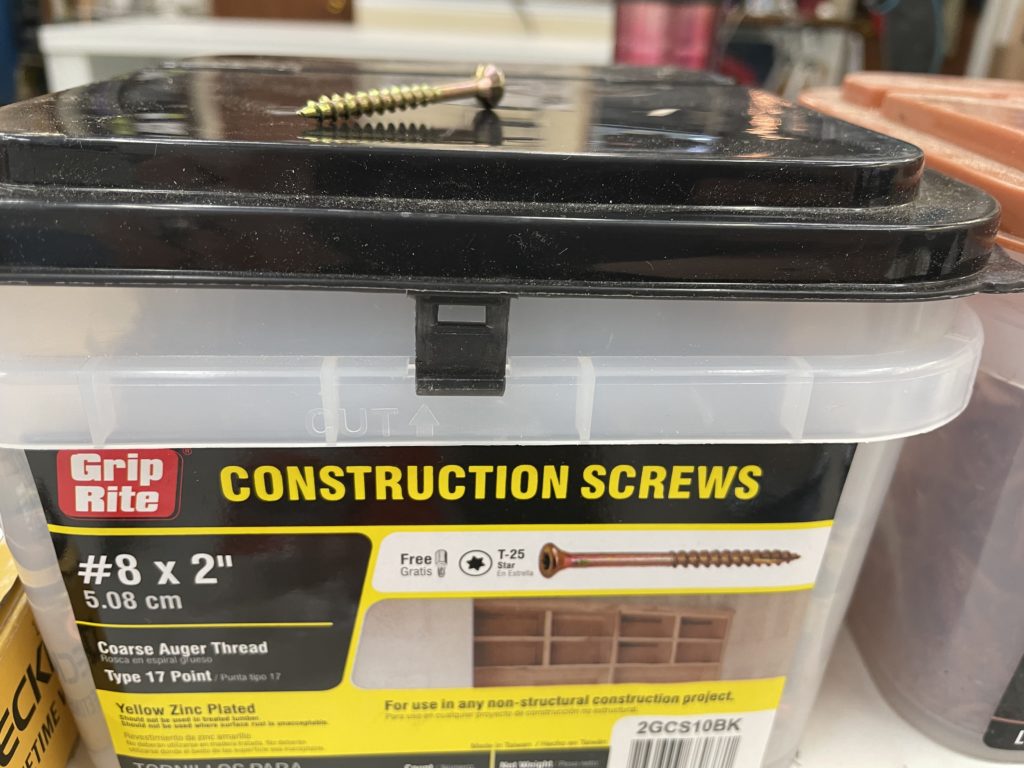
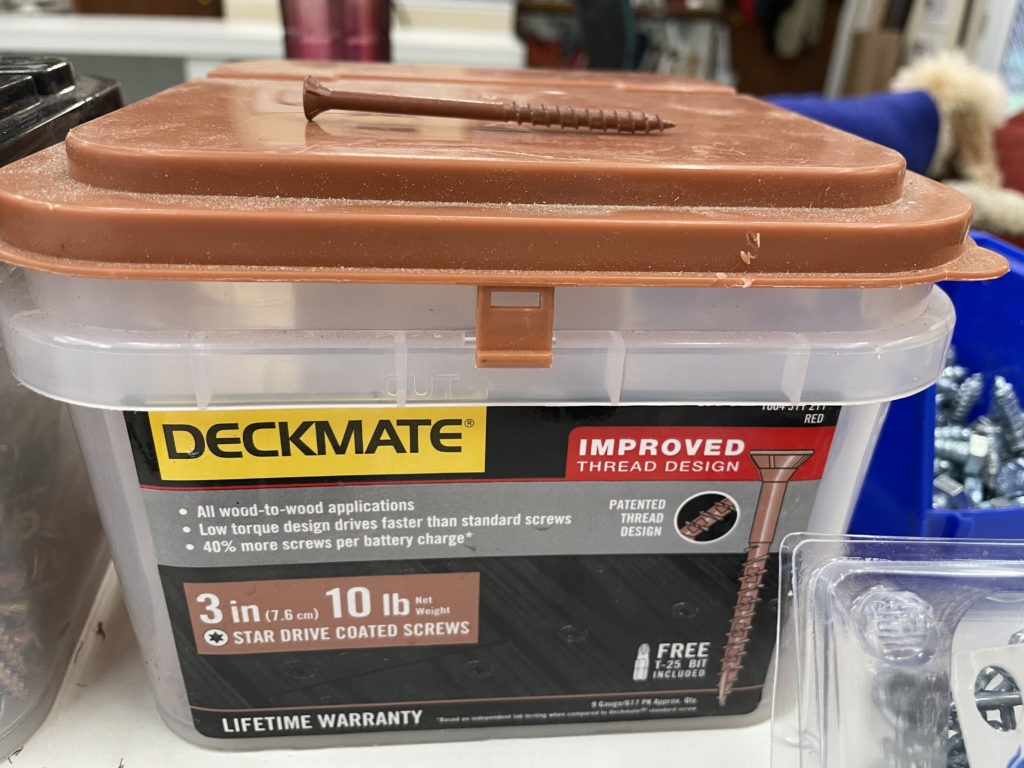
We build our own enclosures out of Melamine due to this material’s strength and low cost.
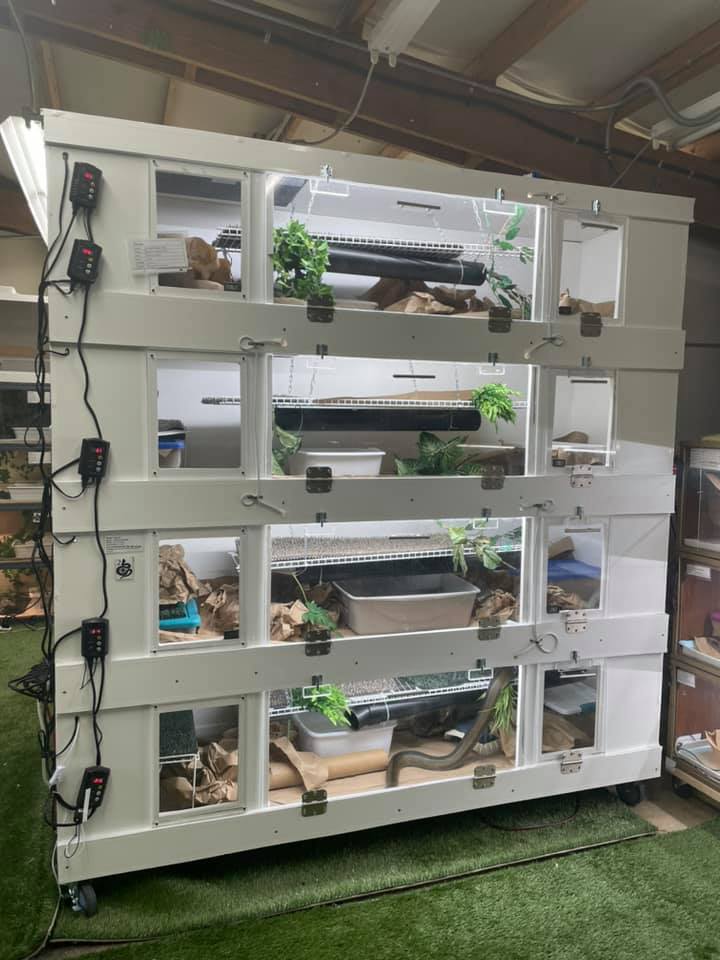
Melamine is very strong when used in the style we show here. It can easily hold the weight of many enclosures so we usually build these as a tall rack like system that contains four separate enclosures. For a typical home you can build one enclosure and use it as a furniture item to hold addionL items on top.
There are some down sides to melamine:
WATER
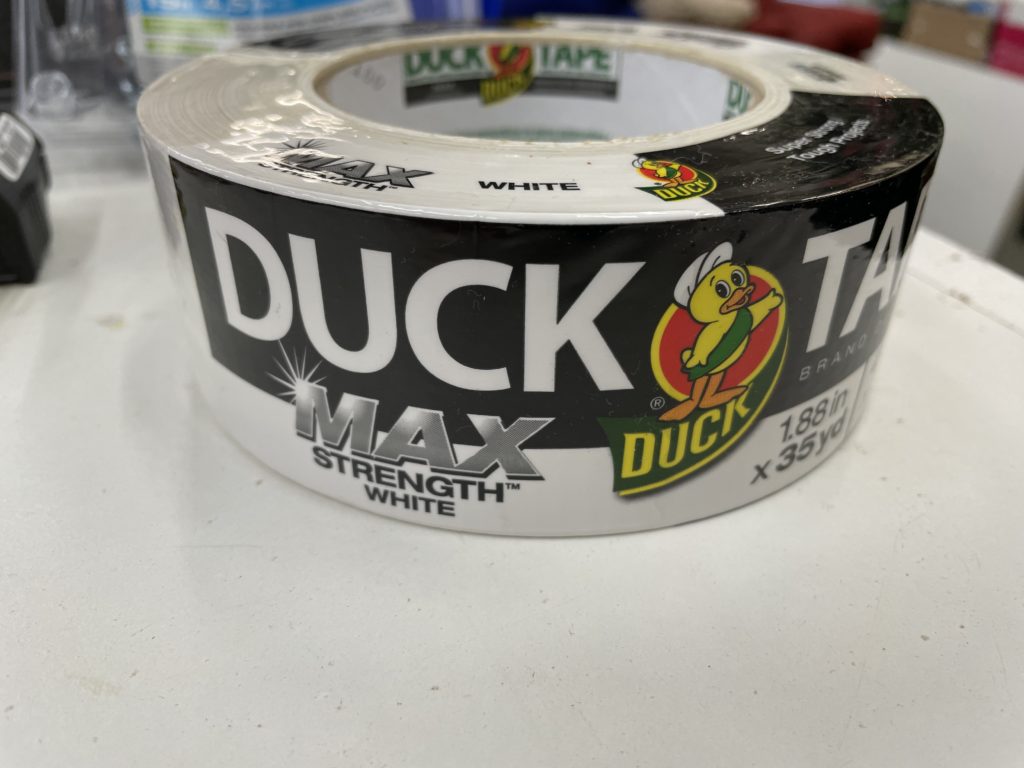
This material is criticized by some due to it’s inability to withstand high levels of moisture. We have found that it holds up quite well as long as the edges are sealed. Do not use the iron-on tape that is made for melamine because it does not actually seal the edges. Instead we use white duck tape on all edges. Sealing your enclosure all the way around with white duck tape is tedious and time consuming but will make the melamine last much longer.
The humidity inside your enclosure should not be so high that you have condensation on the walls of your enclosure. We achieve correct humidity by placing our water containers closer to or farther from the heat sources. If you find your humidity is too low, simply move your snake’s water dish toward the warm side so it is on top of the floor heat which is causing evaporation. If the humidity is too high and you have condensation inside the walls of your enclosure, just move the water dish away from the heat.
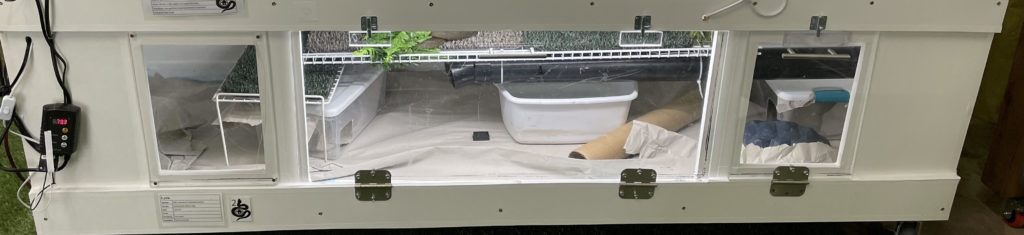
We install our own custom made water proof tray made out of corroplast in the bottom of the enclosure to protect the melamine from wet substrate and standing water.
WEIGHT:
Melamine is VERY heavy. It weighs approximately 90lbs per 8×4 sheet. That means you need to plan ahead on how to move it and where to put your enclosure in your home. If you plan to build giant racks like what we have at Snake Haus, please make sure your floor can hold the tremendous weight.
The plans we include here have some details specifically designed to help with moving an enclosure this heavy. First is that we always install heavy duty wheels under it. Second is that we have made the recommended dimensions in a way so that it can slide through most standard door frames when set on it’s back. Once you have it built you can tip it carefully onto it’s back and it should slide through a door frame without the wheels. Put a blanket under it to help it slide easier and so it doesn’t scratch the floor. Once you have it in the correct room of your house, put the wheels back on and stand it back up.
BELLY HEAT
Melamine is too thick to rely on a heat source that is outside the enclosure. That means we install our heat tape INSIDE. This has to be done in a specific way to keep your snake safe. These enclosures are also too large to rely only on one radiant heat panel. We install two separate sections of heat tape inside the enclosure so we can run one side at 75 degrees and the other side at 85 degrees. Then we make a water proof tray out of corroplast that prevents the occupant AND water from being in contact with the heat tape. Heat tape will short out and cause you or your animal to get shocked if it gets wet. The corroplast tray will keep any water from getting to the heat tape and the melamine floor. It also insulates your snake from being burned when sitting directly above the heat tape.
Stacks of enclosures can be heated more efficiently when built together as a single unit. For a stack of enclosures you should arrange them in a way that lets you use the radiant heat panel in the enclosure below to heat the floor of the enclosure above. Heat rises so not only will the RHP heat the enclosure it is in but will also heat whatever is above it. In our four stacks only the bottom enclosure has belly heat installed. All the ones above that get belly heat from the RHP inside the enclosure under them. That means the thermostats controlling each RHP have their probe taped to the floor ABOVE the RHP instead of inside the enclosure with them. This works very well and is extremely efficient.
Special notes
- Always pre-drill your screw holes when using melamine. This helps prevent the water proof layer from cracking.
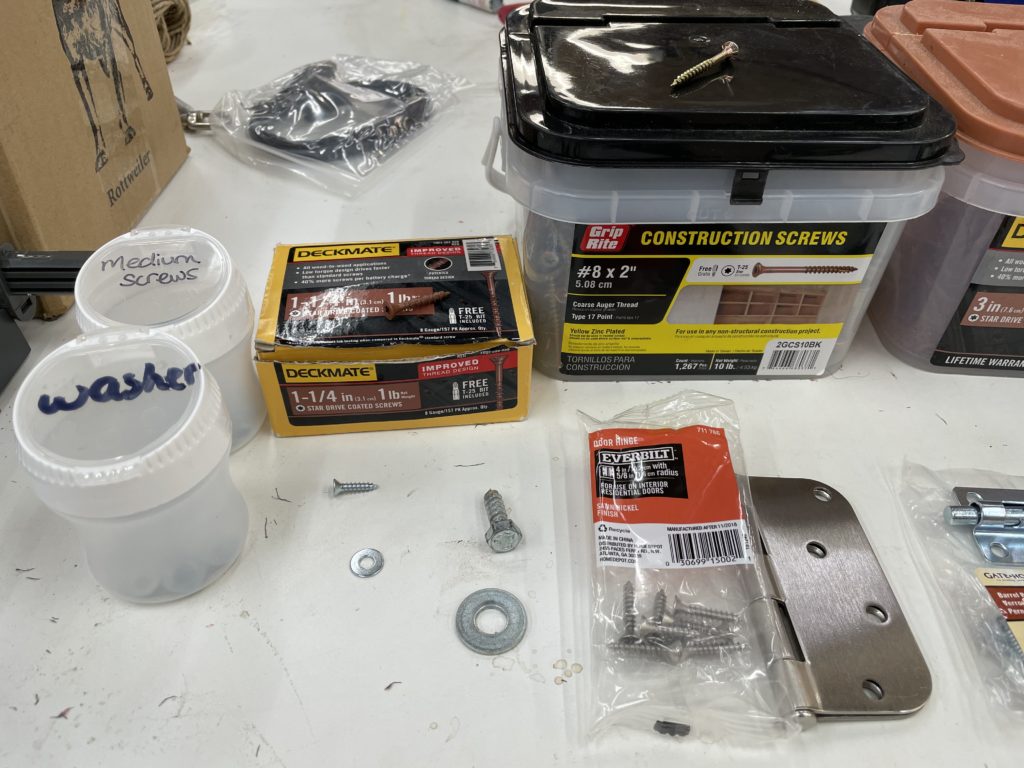
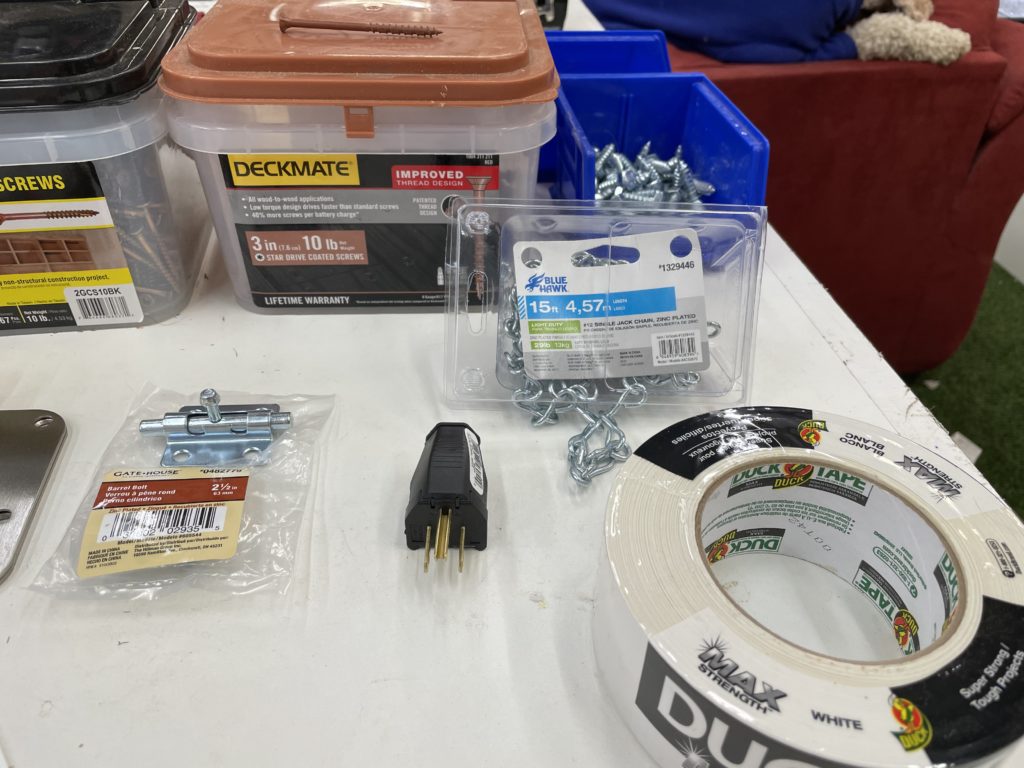
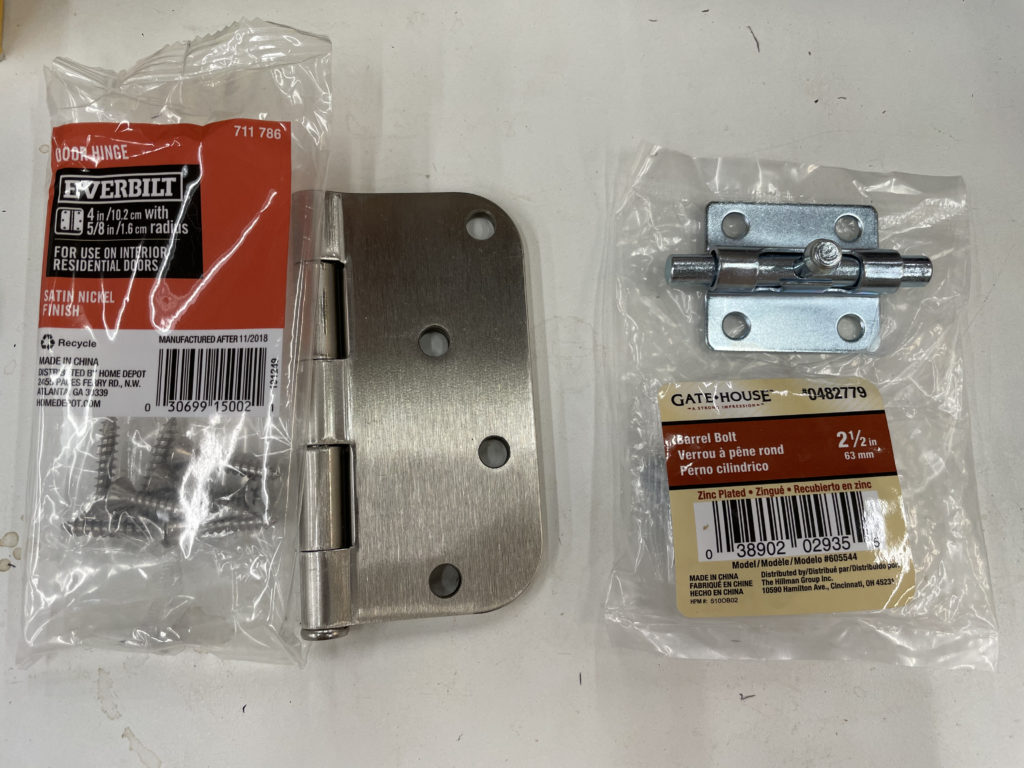
- Hardware: We use several different screw lengths. Take great care to ensure the length of screw you use will not end up poking through the side into your enclosure. However they need to also be long enough to hold for strength. See the recommended supply list below for ideas.
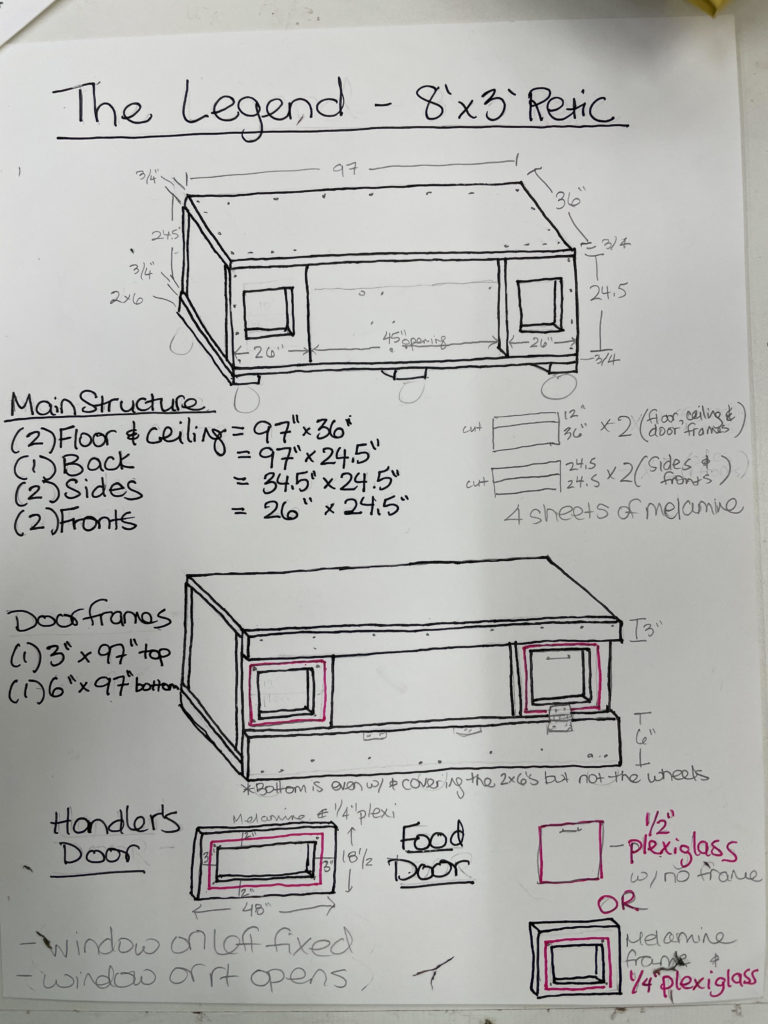
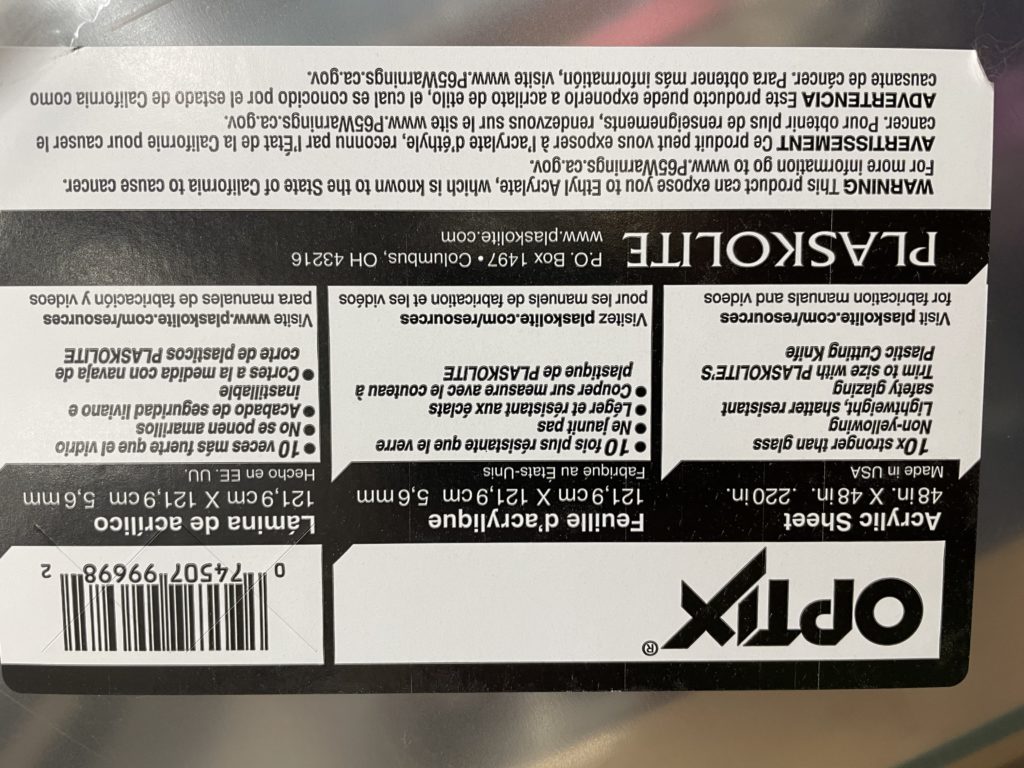
- Plexiglass thickness: Plexiglass is very expensive. If you build your doors to have a melamine frame you can use the 1/4″ thick plexi which is much less expensive. If you plan to make your doors fully clear without a melamine frame you will need to buy 1/2″ plexiglass.
- Food Door: We show two different styles of doors on this page. If you are building an enclosure for a large retic, we strongly recommend that you consider using the plans for The Legend. That plan includes a food door in it’s design. This is for safety when feeding a large retic. It is not needed for boas.
- High traffic noise/vibrations: Take note of your snake’s sensitivity to vibrations. If you plan to use your new enclosure as a furniture item, be aware of how much vibrations from things like foot traffic, music speakers, and large appliances can affect your snake.
- Working with plexiglass: using the correct saw blade to cut your plexiglass is important for getting smooth edges. Also be sure to drill holes for the screws before attaching it to your doors. If the hole is too small the screw will crack your plexiglass. Run your drill at a slower speed and use clamps to prevent it from cracking. The blade we use is a 56-Tooth Aluminum/Laminate Metal Cutting Blade. It makes a huge difference!
Below are guidelines for a few of our enclosures.
NOTE: Please use the dimensions at your own discretion. We do NOT guarantee the correct measurements. Double check as you are building your unit to be sure the measurements continue to work as you go. This is especially important for the doors. We recommend that you assemble the main structure first, then re-measure for the doors and make adjustments as needed to ensure they fit well and function when opening and closing.
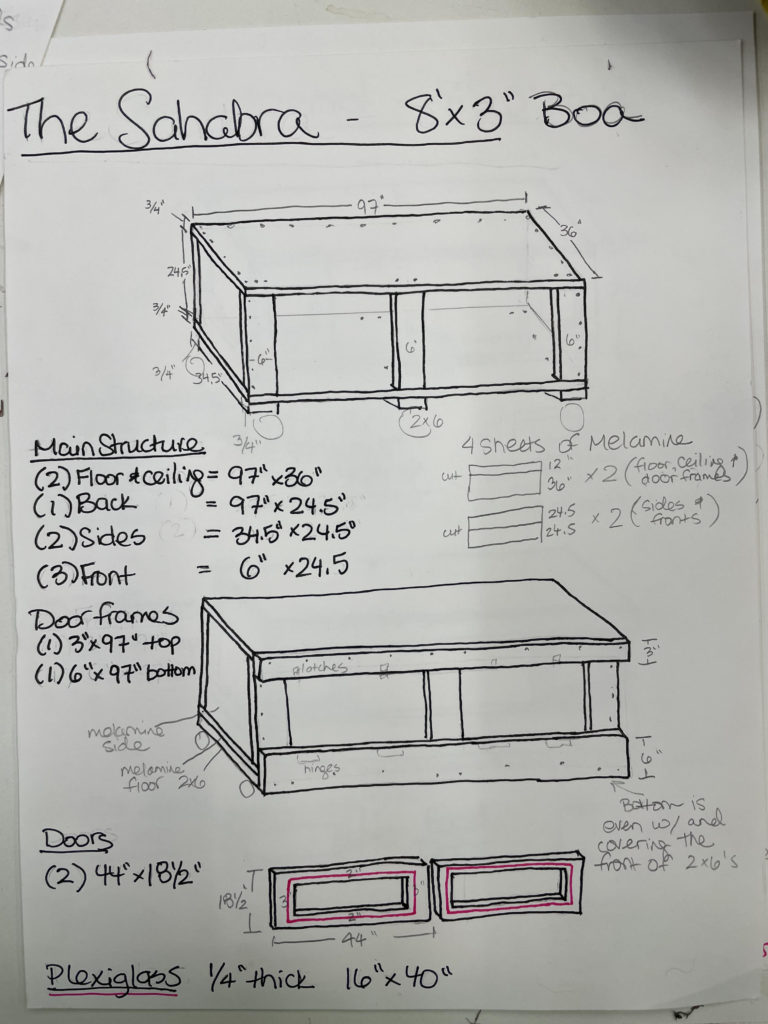
The Sahabra: 8’x3′ Boa Enclosure
This is an ideal enclosure for a large boa. It is large enough to be a life long habitat for even the largest of boas out there but still be manageable inside a room of your home.
The Legend: 8’x3′ Retic Enclosure
This is an ideal enclosure for a medium sized mainland retic or an adult superdwarf. This unit differs from the Sahabra because it accommodates for a food door. Retics are often very food motivated. In addition to hook training, a food door can also help them learn to differentiate between food day and handling days. They are ONLY offered food through the food door. Everything else happens through the handling door. That means they will eventually learn what to expect according to which door opens.
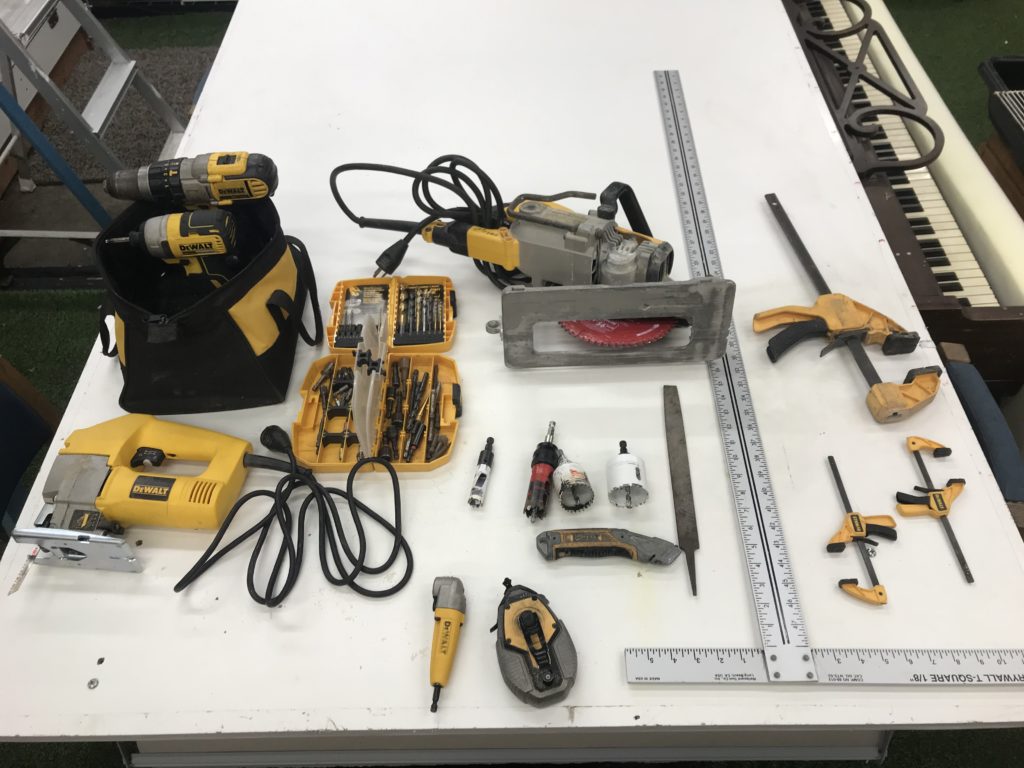
Tools:
Using the right tools for the job makes a build like this much easier. Here you can see most of what you will need for your project.
Supplies and Hardware:
Your enclosure is only as good as the materials used to build it. That means take care to use the correct screw types and lengths, correct thickness of plexiglass, good brand of tape, strong hinges and latches, etc. The length of your screws is very important so we use several different types throughout.
The Process
There are so many steps to building one of these that it’s easy to get lost. Below are photos of most of the steps.
Attach the 2×6 supports to the bottom first! 
The screws for the 2×6 are on the inside. 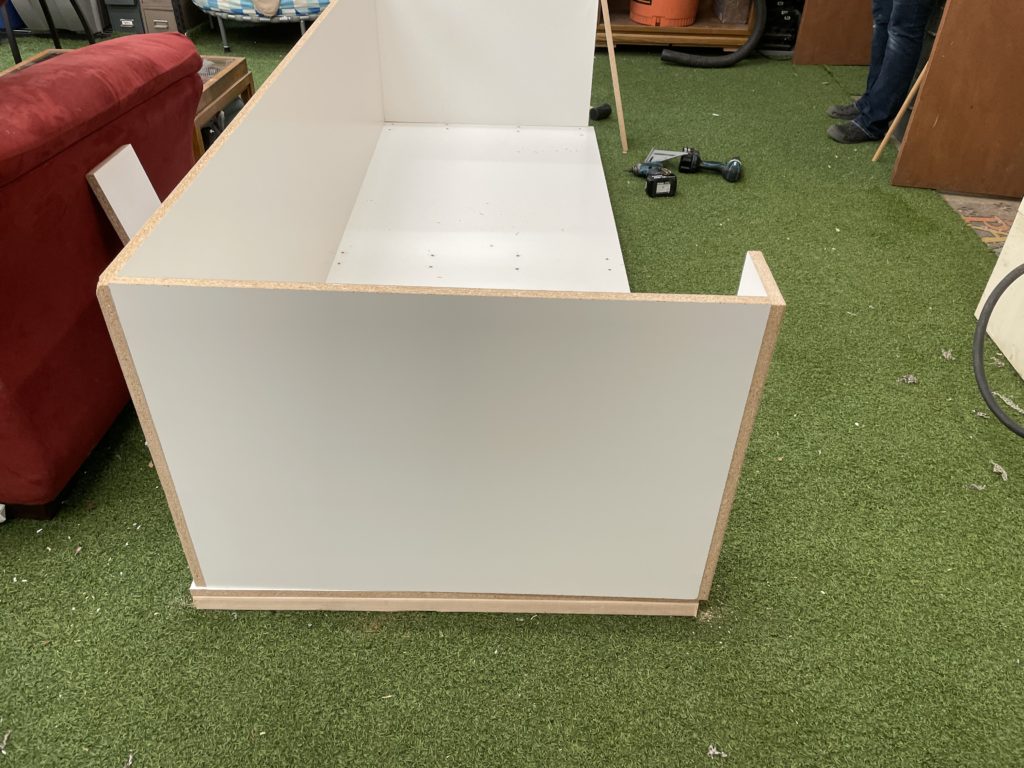
Then assemble the sides with screws. 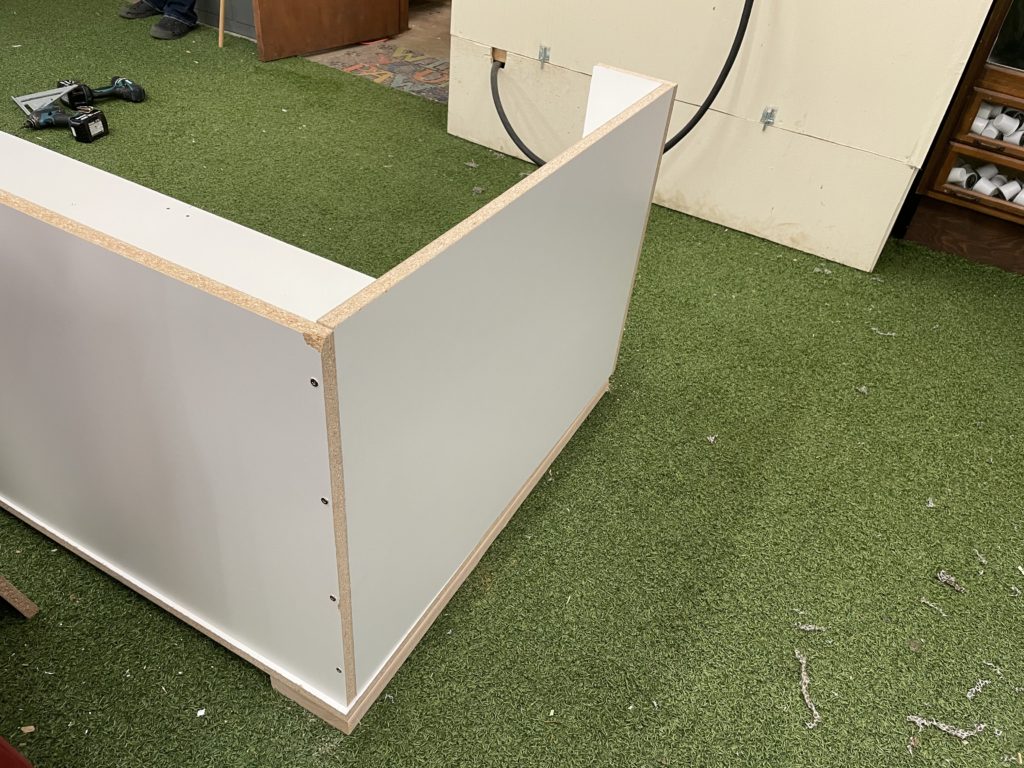
Line up your edges carefully. 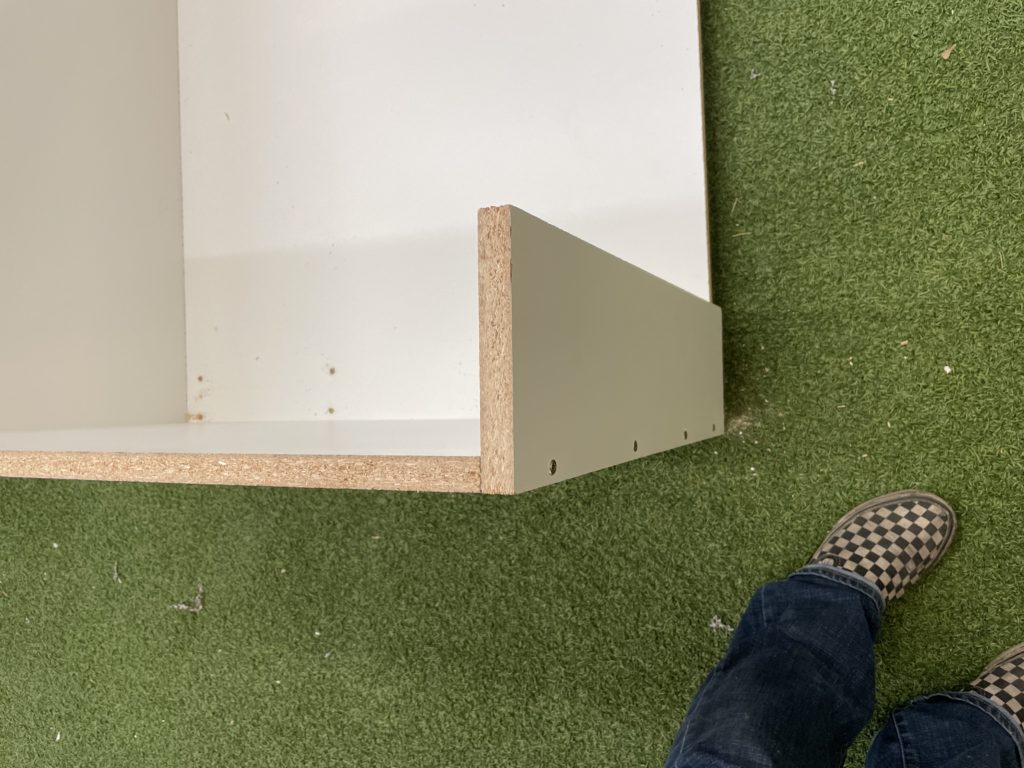
Screw through the side into the end of the next panel. 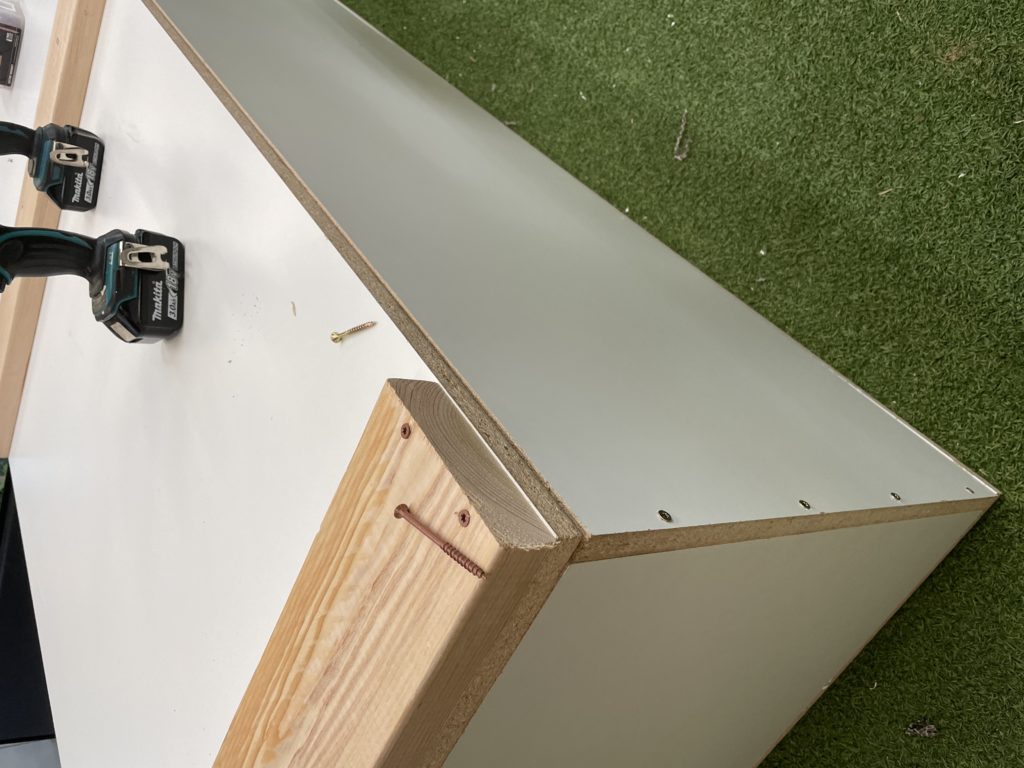
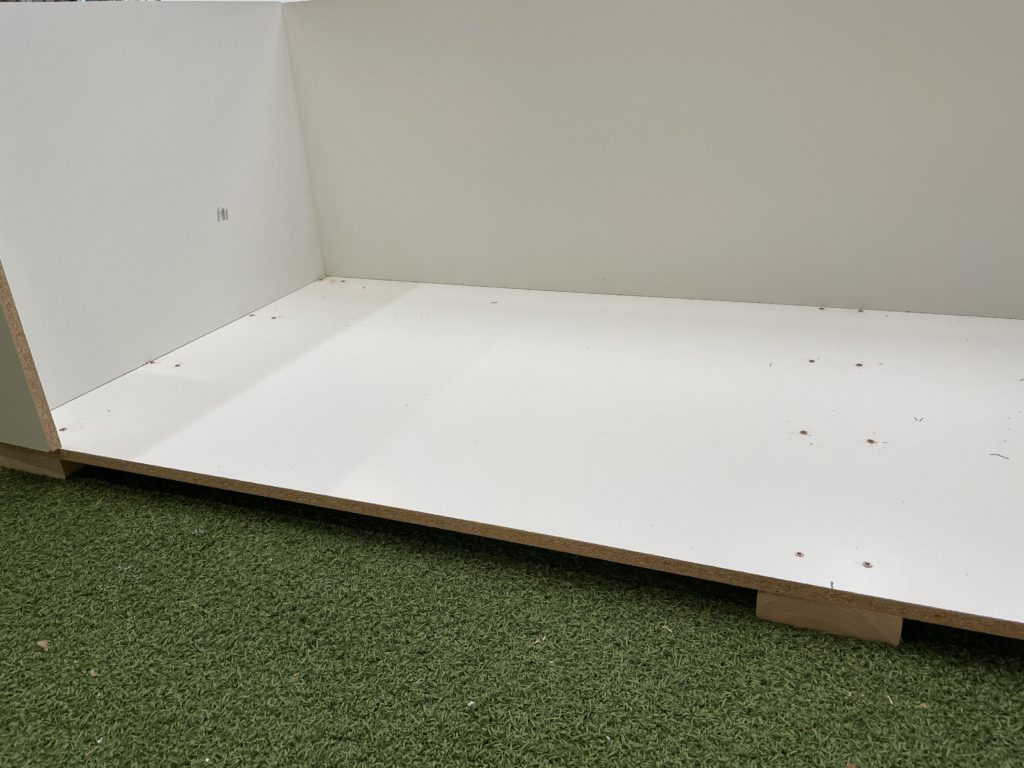
Use 1.5 inch screws to attach the bottom panel so they reach through all the material. 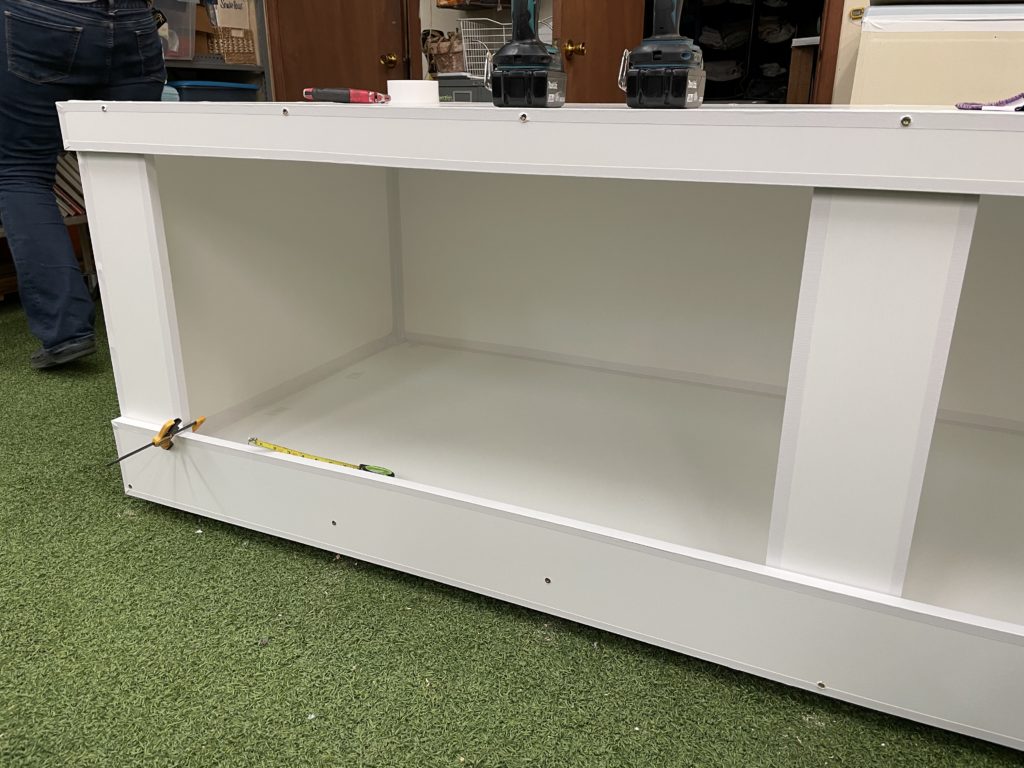
Seal ALL edges with tape BEFORE attaching the front pieces. 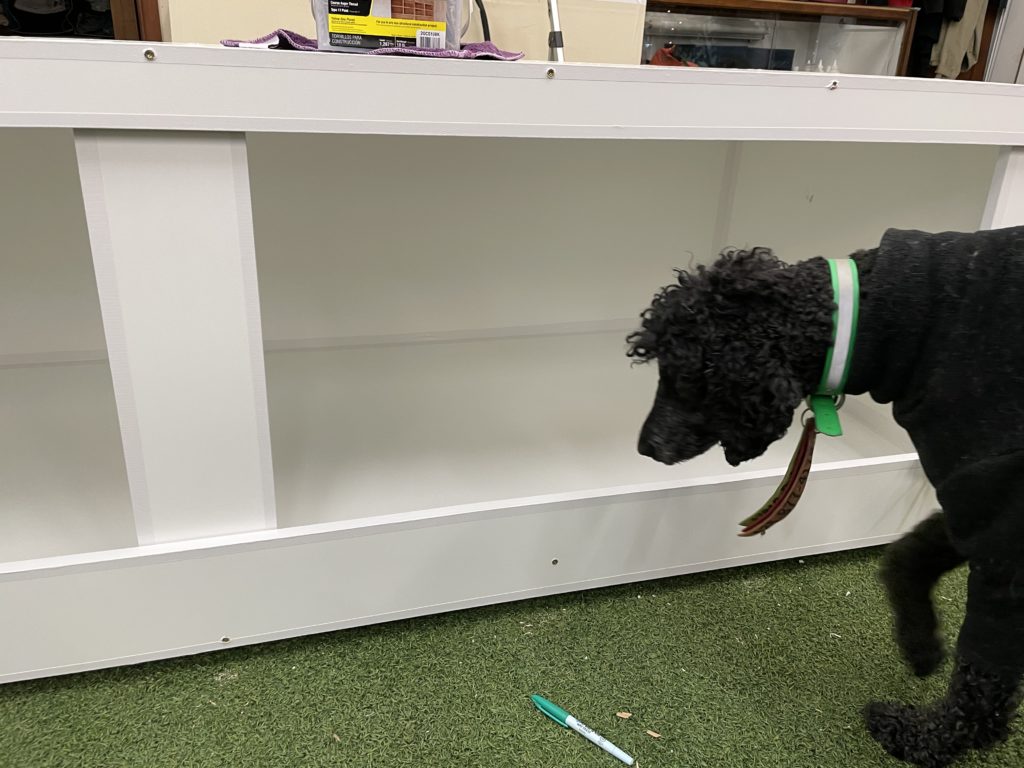
Front sections are screwed into the edges of top and bottom panel. 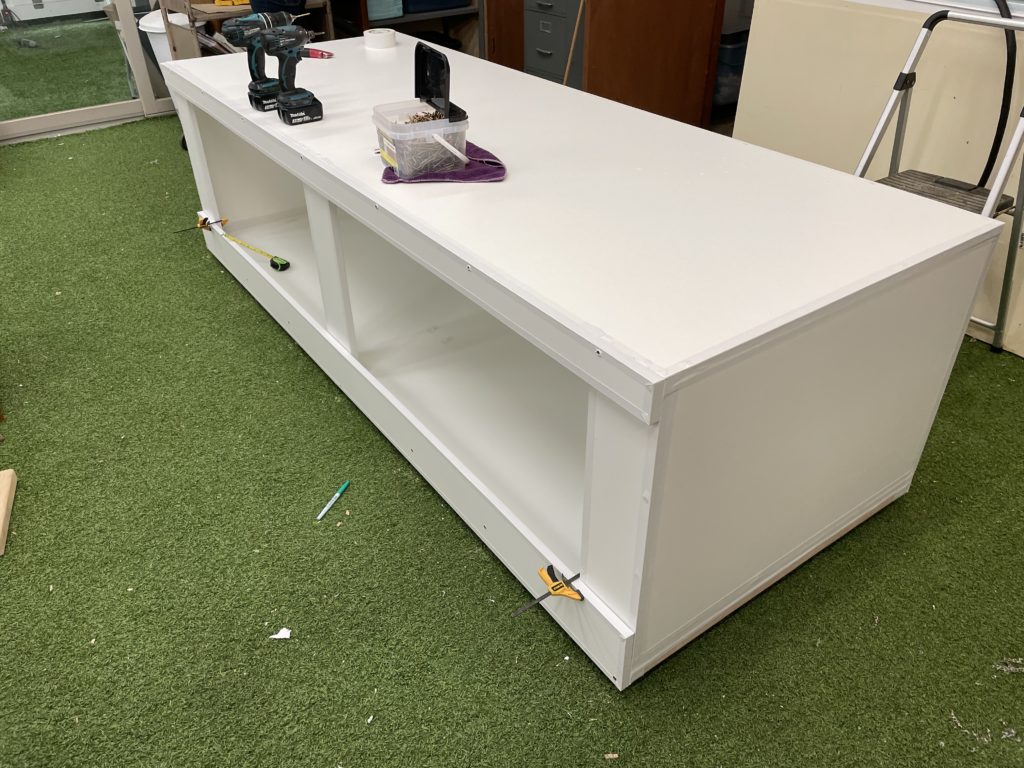
Measure carefully here to ensure door openings are even. 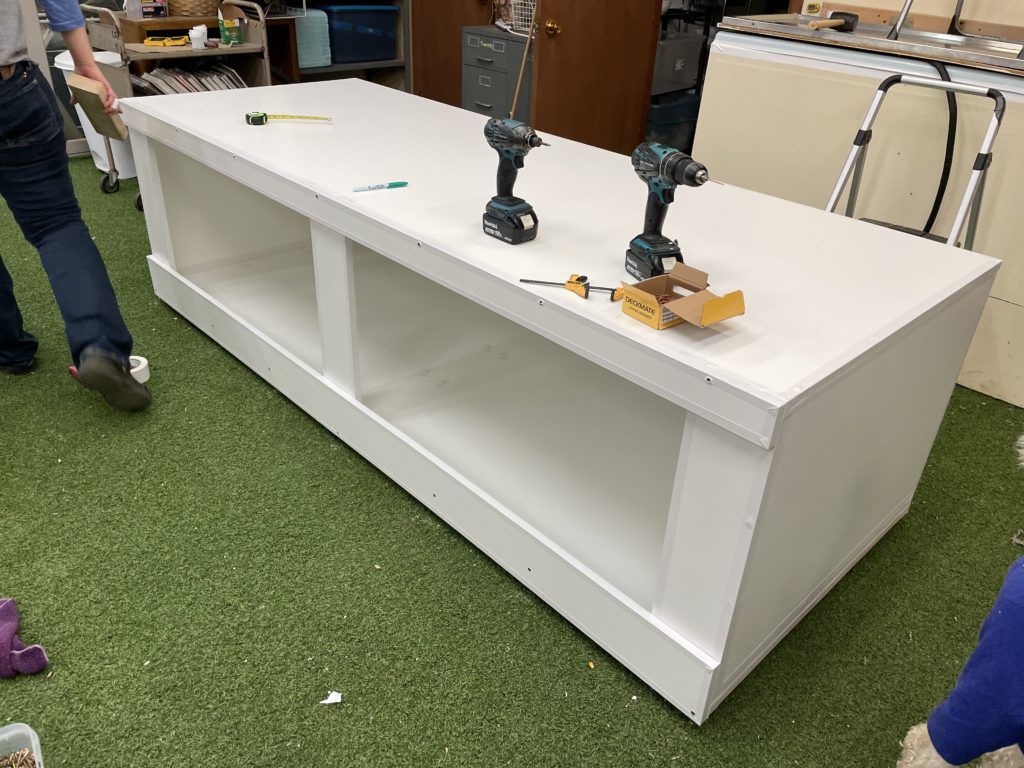
We use clamps to hold them in place while inserting screws. 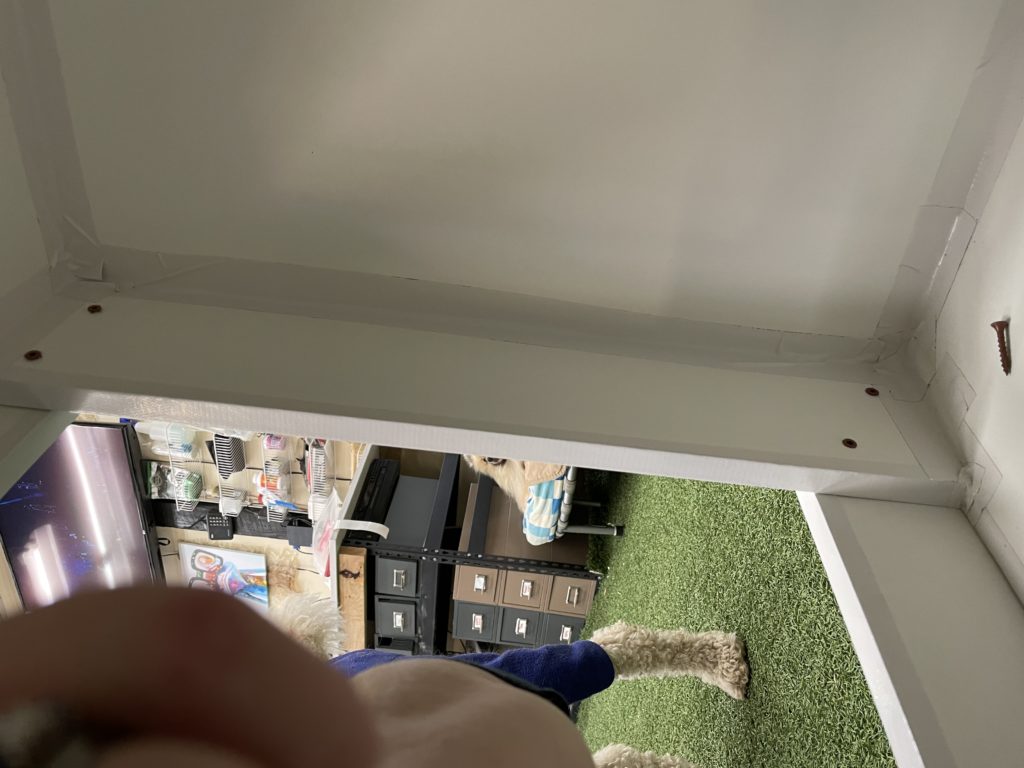
Use 3/4″ screws to secure vertical panels to the horizontal panels. 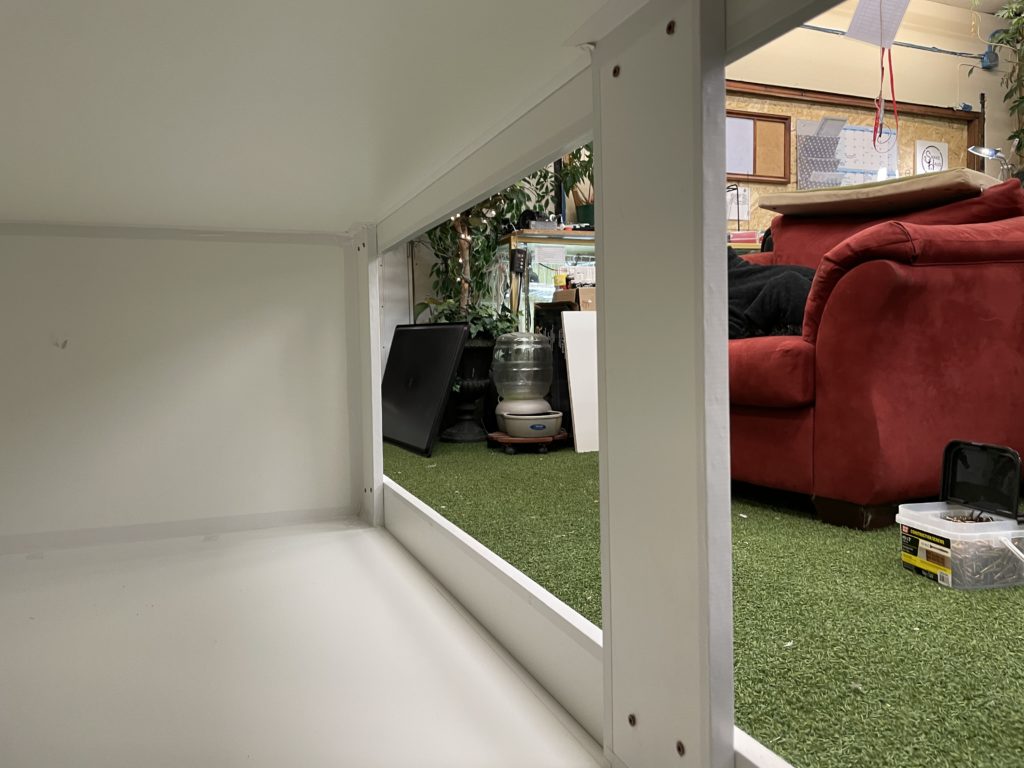
Notice all edges have already been taped. 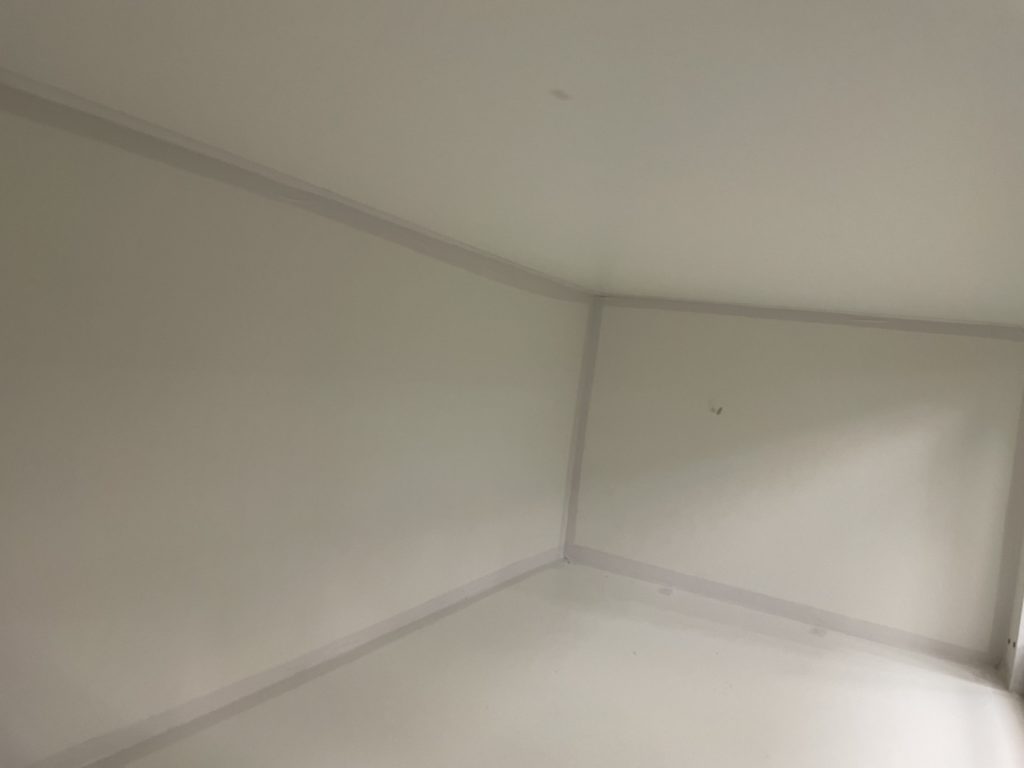
Now tape all interior seems for waterproofing. 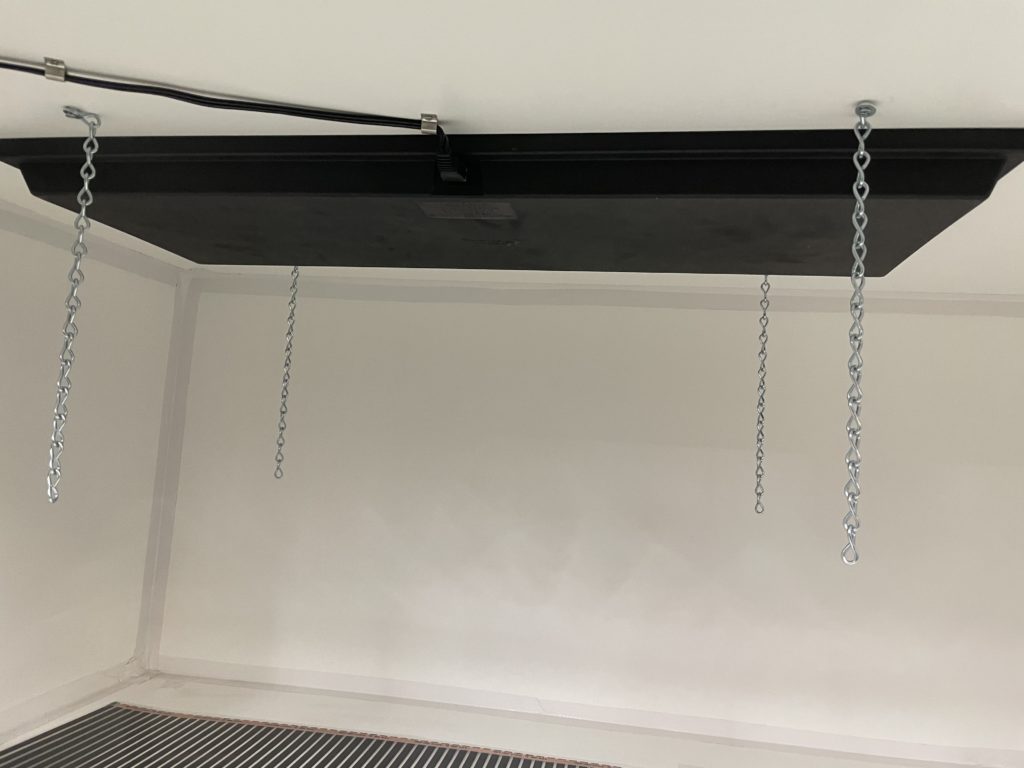
Install heat and chains for shelves. 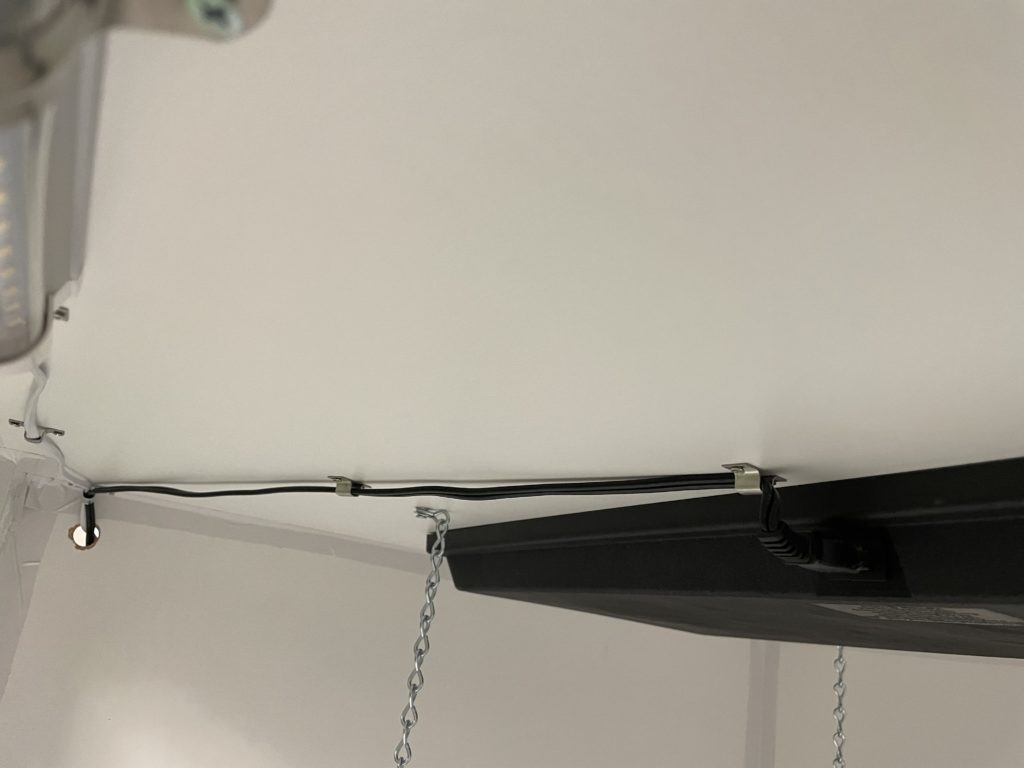
Secure cords with small pipe straps. 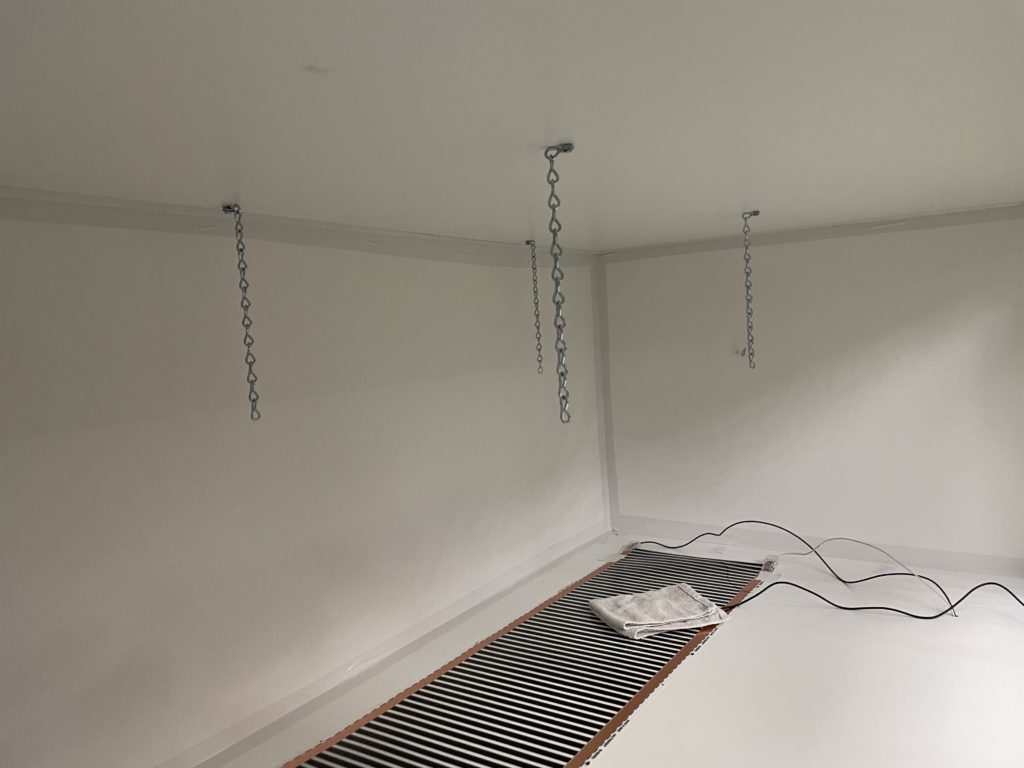
Place heat tape correctly and run wires out through a hole in side or bottom 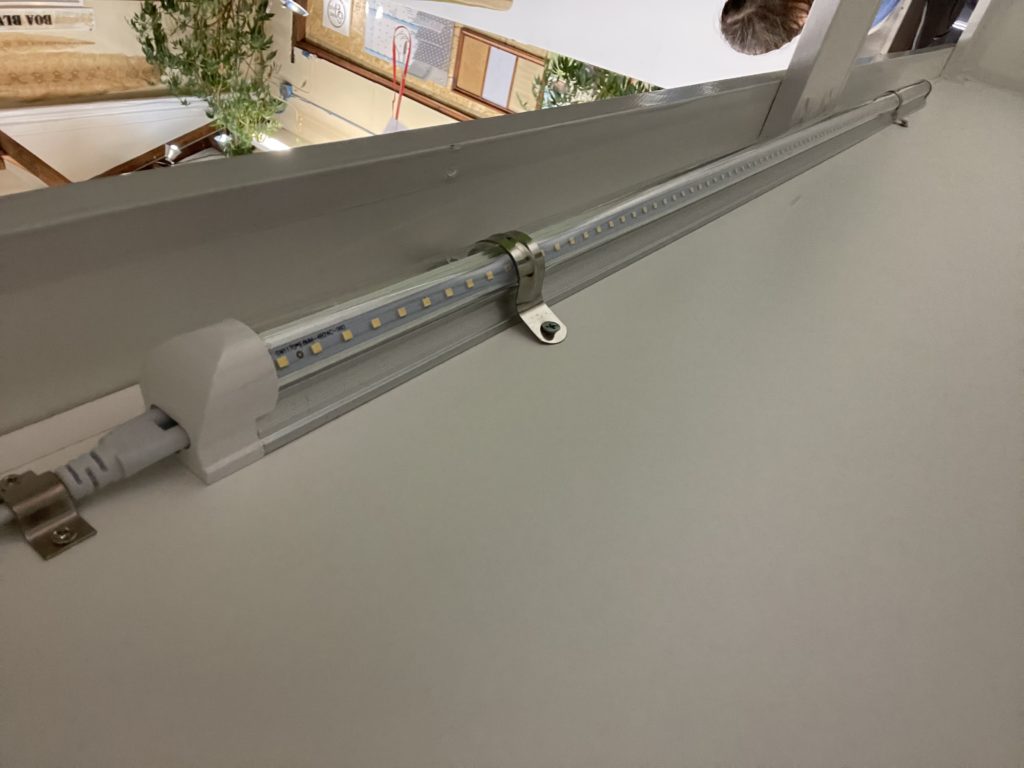
Attach a light bar with 2″ pipe clamps 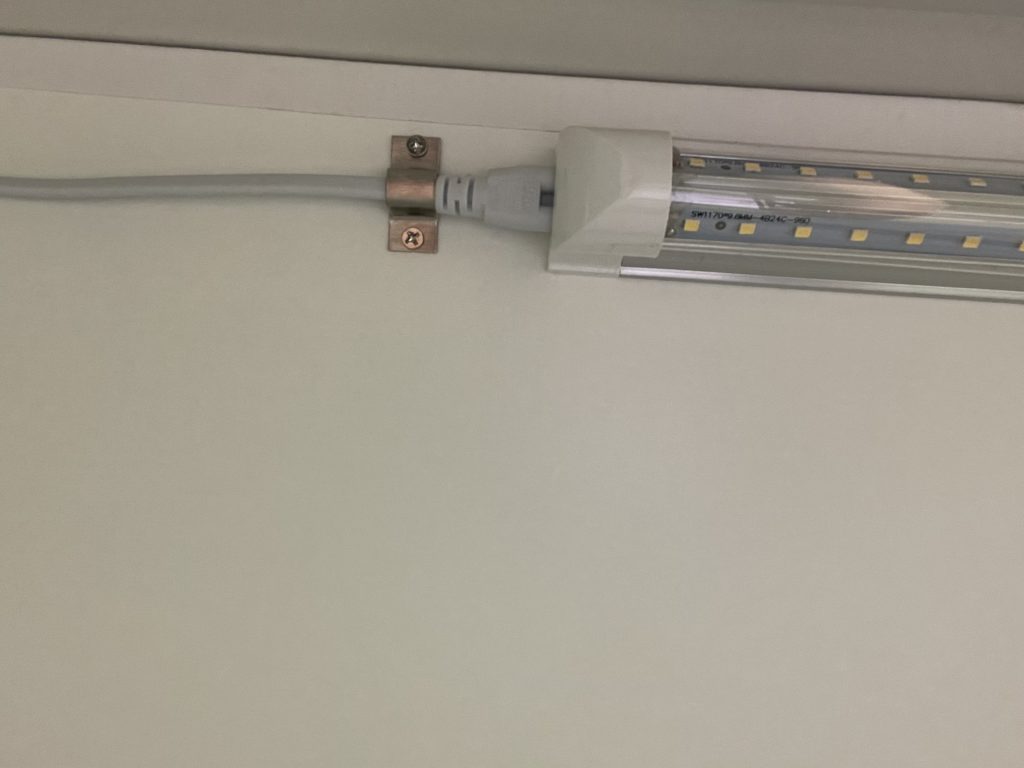
Secure light cord with 1/2″ pipe clamp 
Secure RHP cord so snake can’t unplug it. 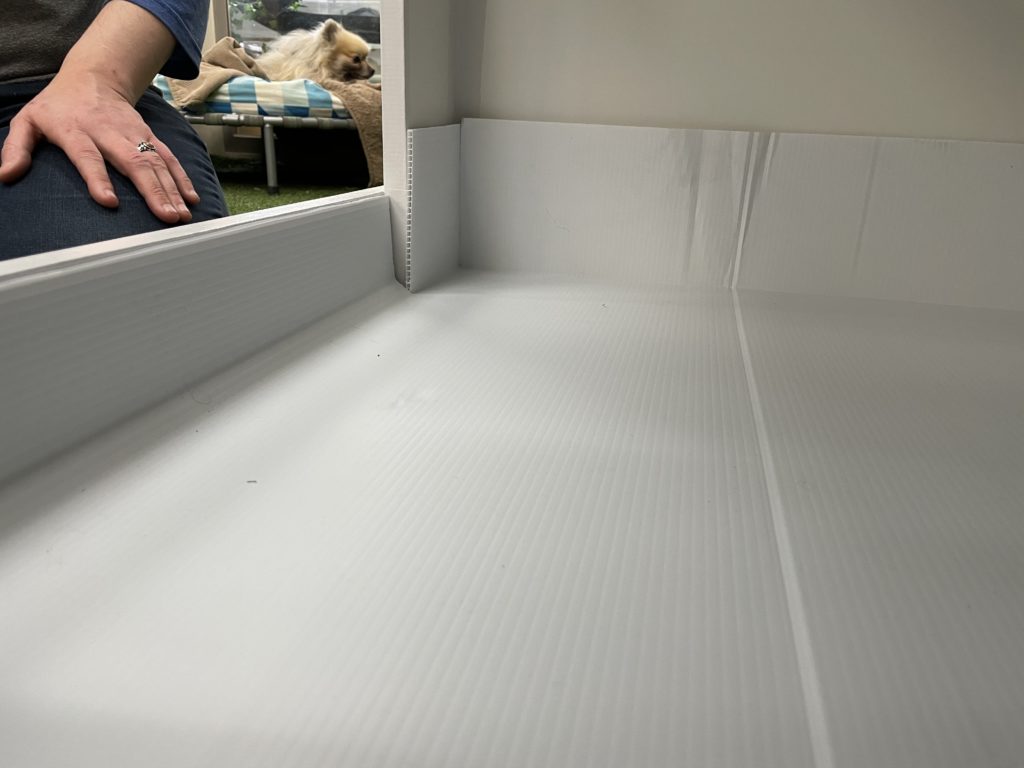
Create a Corroplast tray that covers bottom and lower seams. 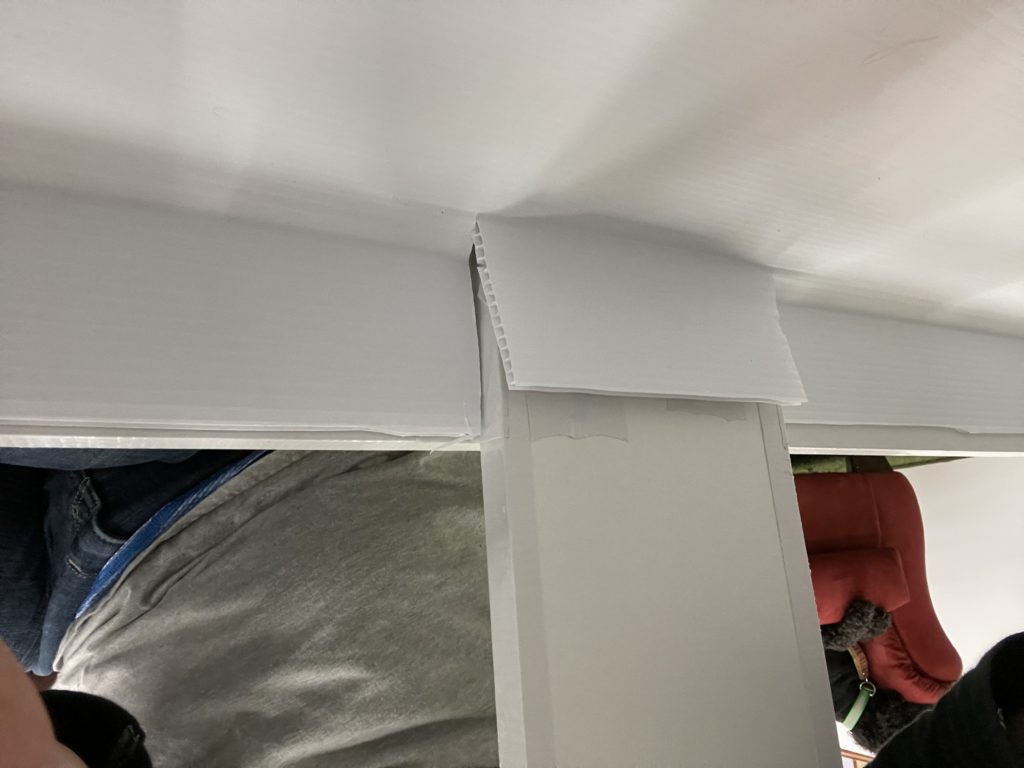
Cut and measure carefully for a good fit. 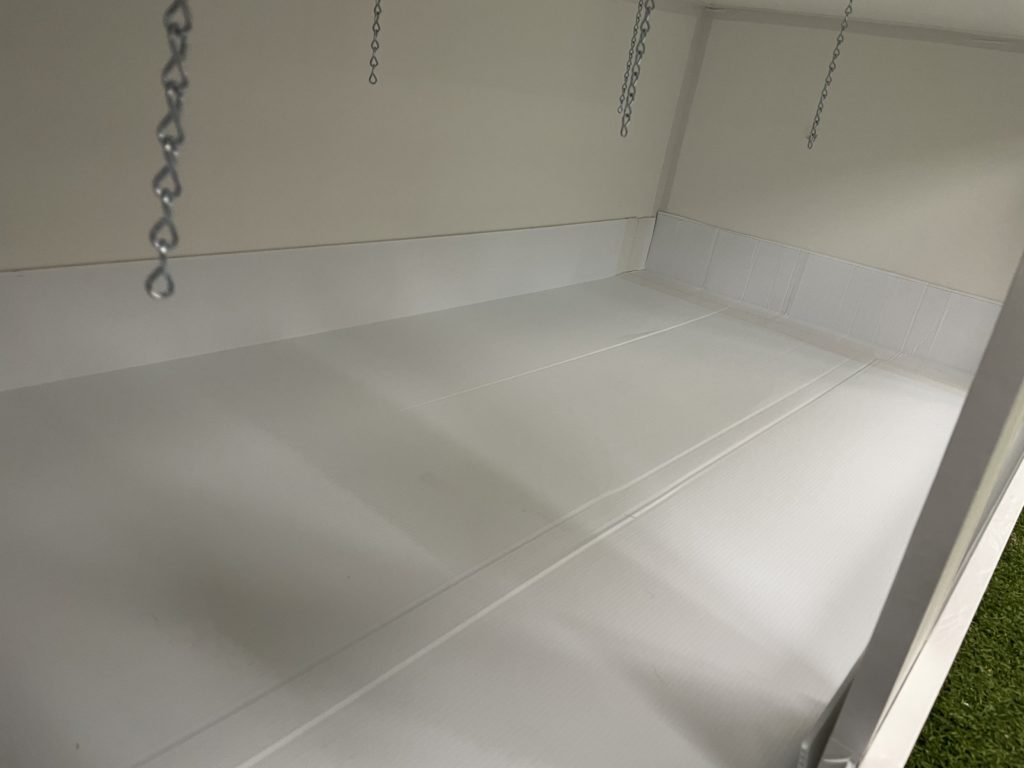
Finish off tray with duct tape for a waterproof seal 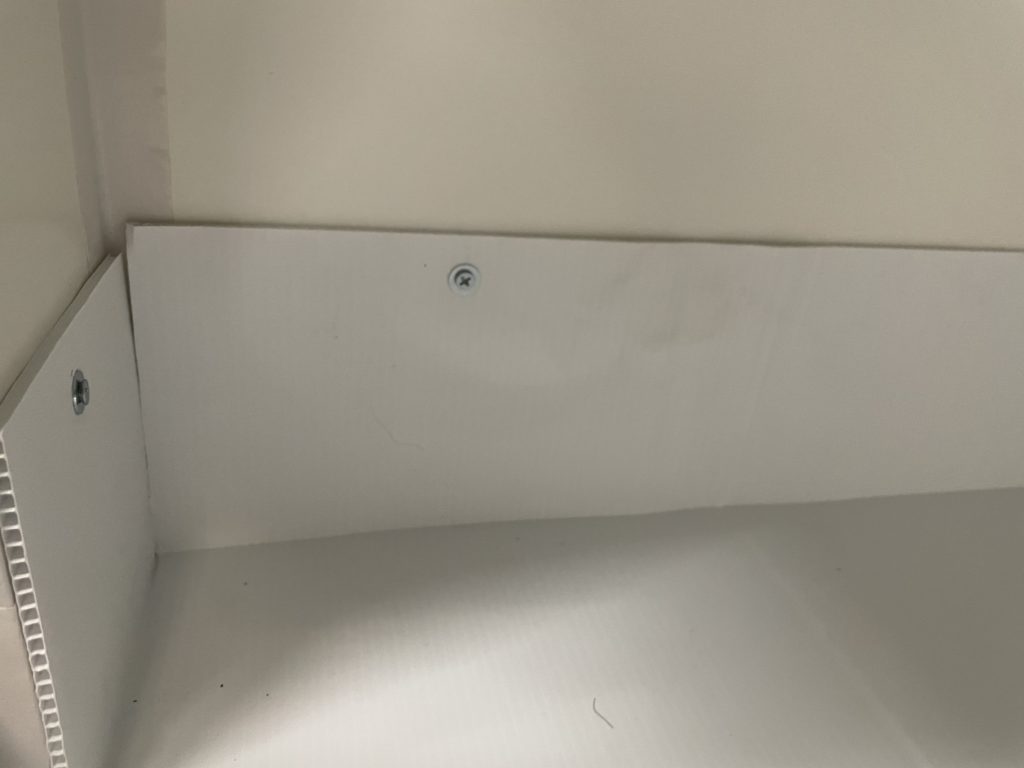
Tray sides are held in place with small screws and washers 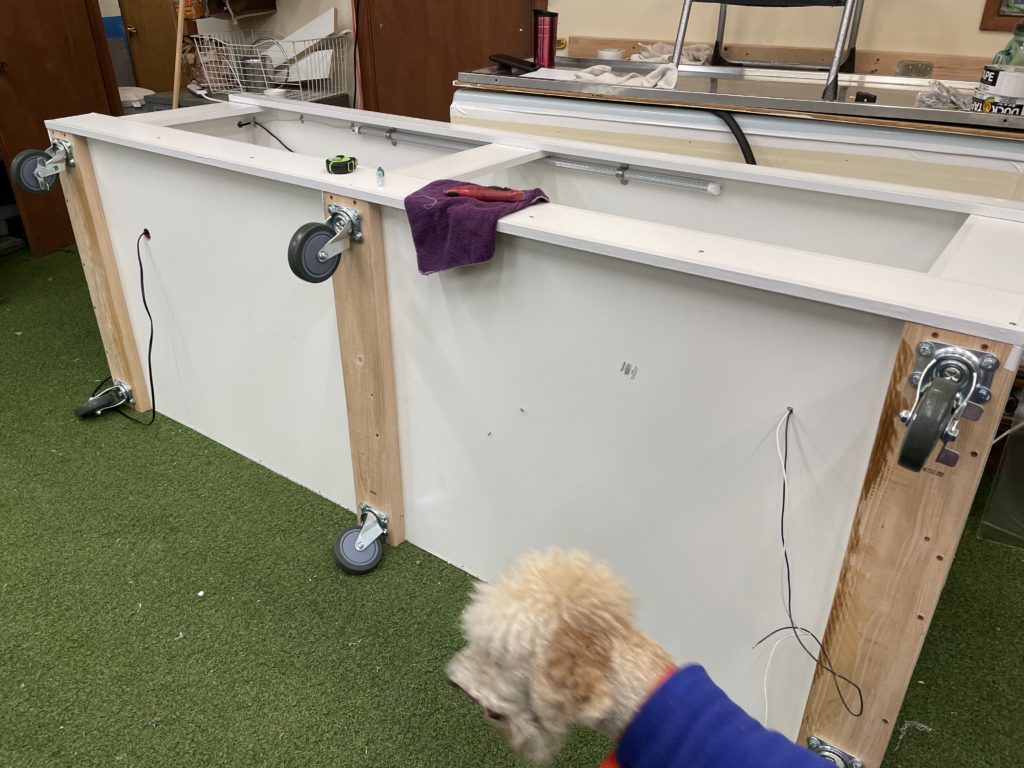
Attach wheels to the 2×6 supports – 2 front wheels have brakes 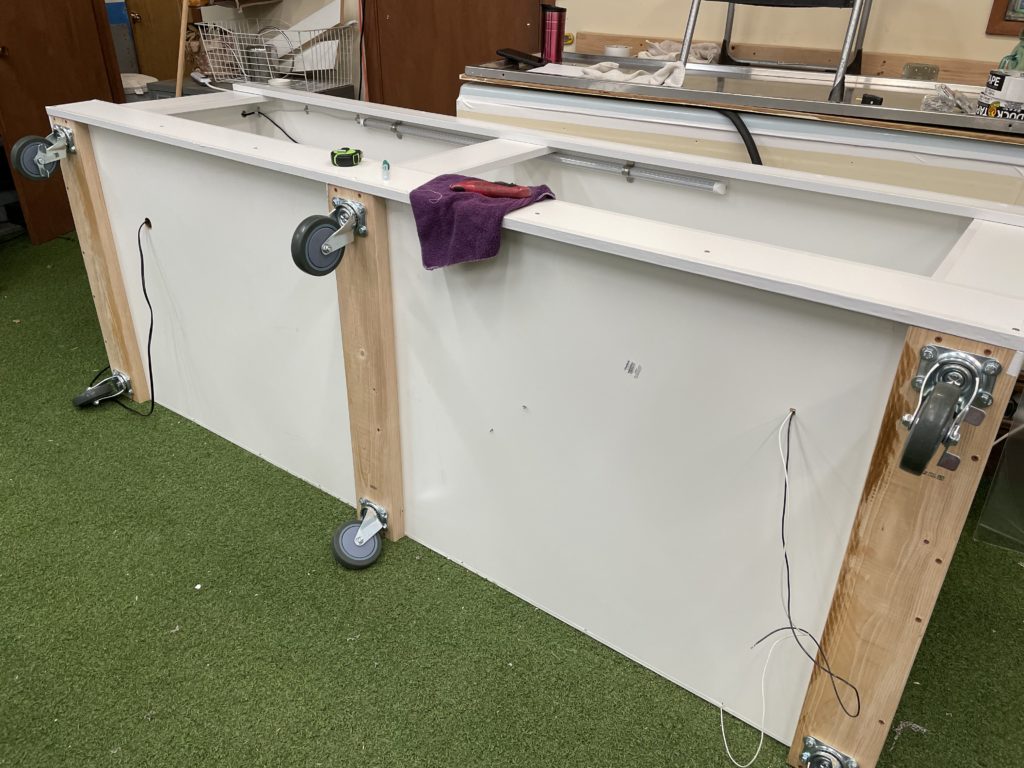
Dont forget center wheels for extra support in the middle 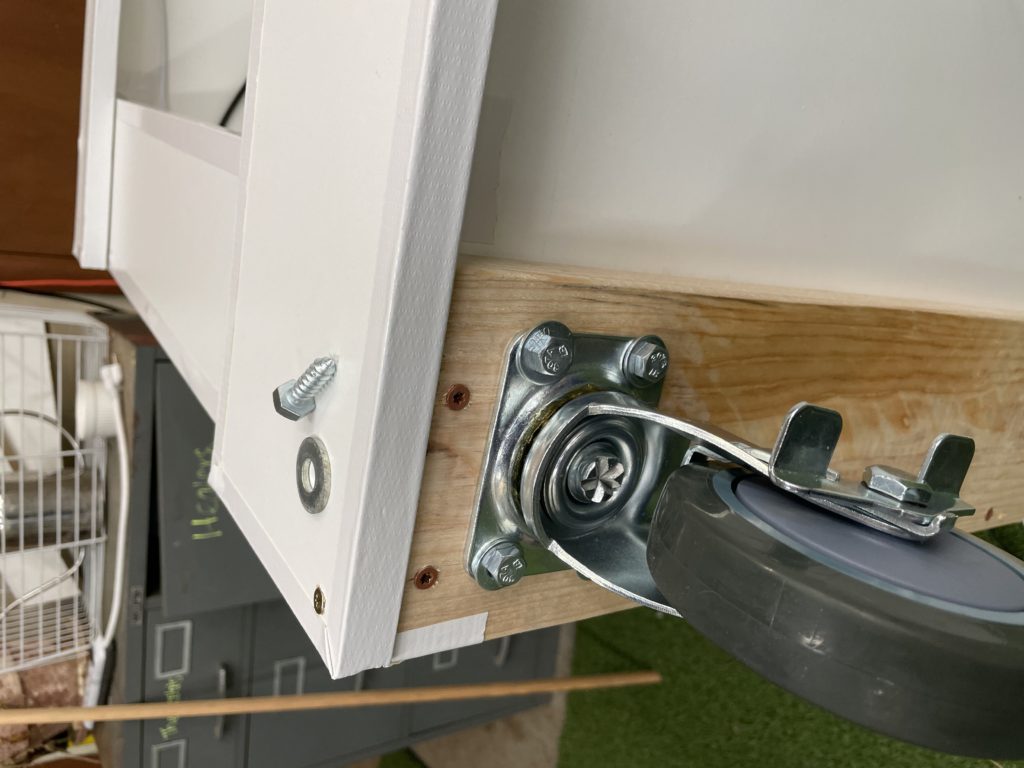
Lag bolts and washers for the wheels to achieve strength 
Check the heat and lights 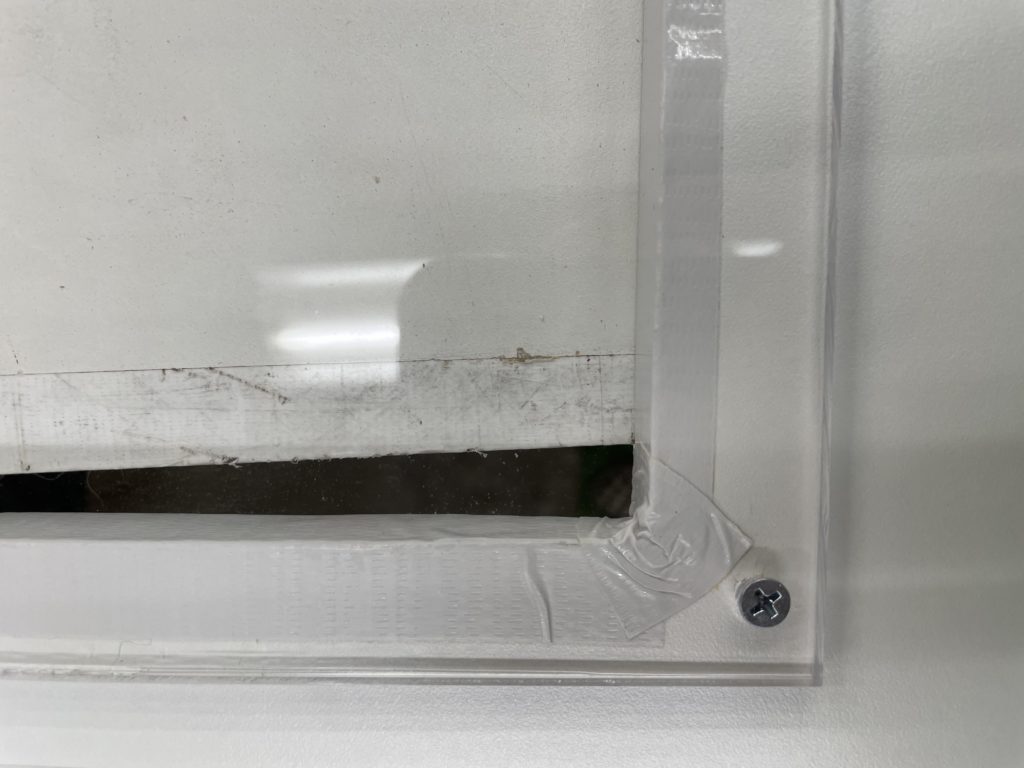
Door edges are taped before plexiglass is attached. 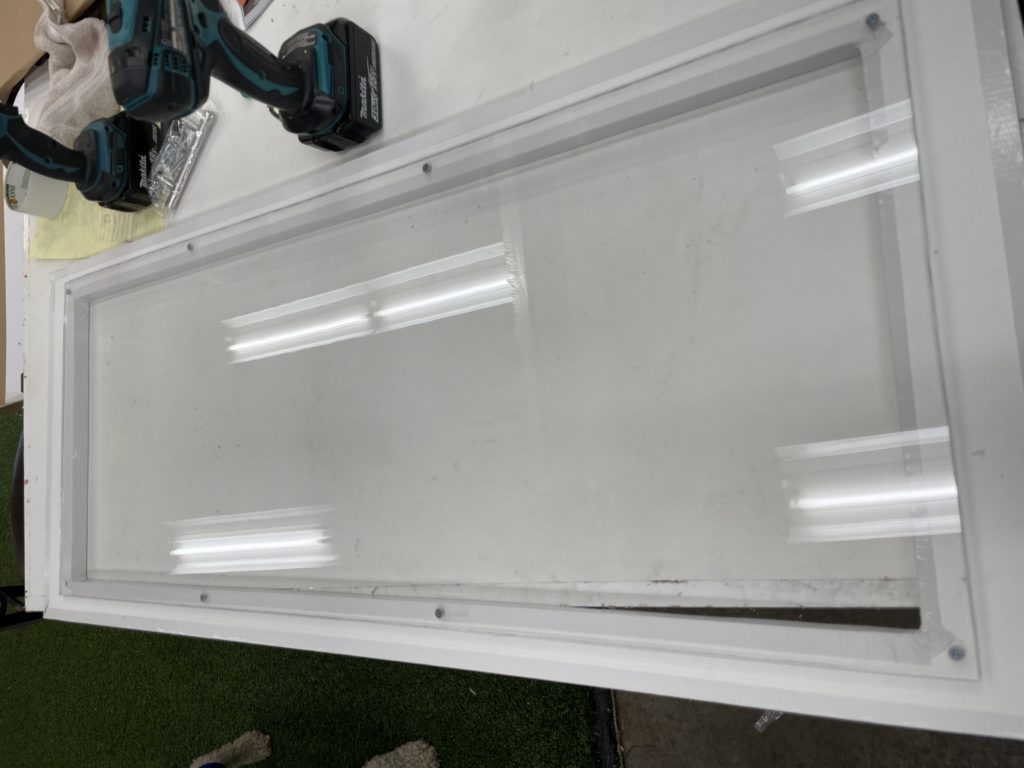
Overlap the plexi by 1″ and attach with small screws – predrill! 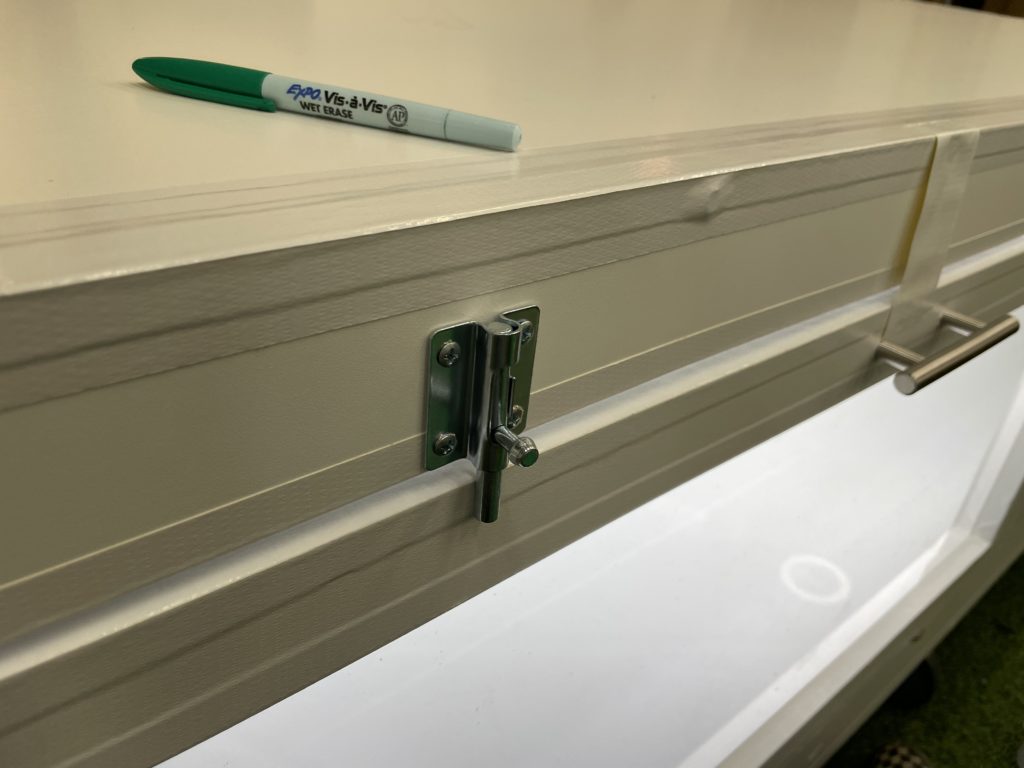
Install latches 
Use washers or similar item to achieve even spacing under the doors 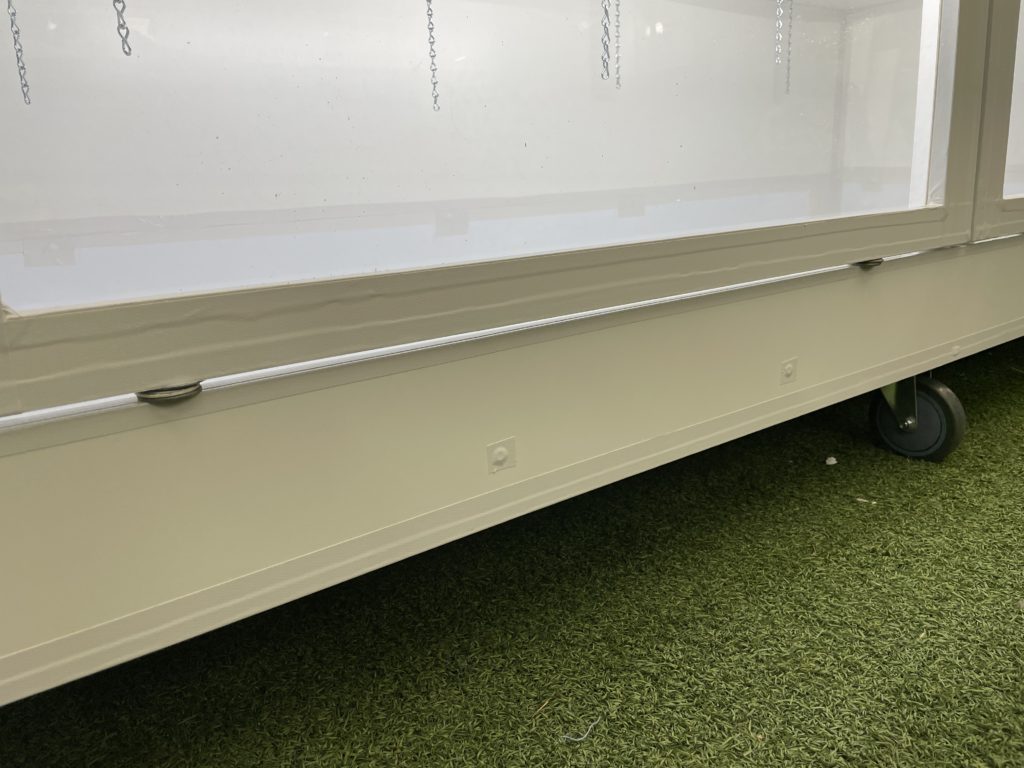
It’s ok if they don’t match. 
Attach hinges and test 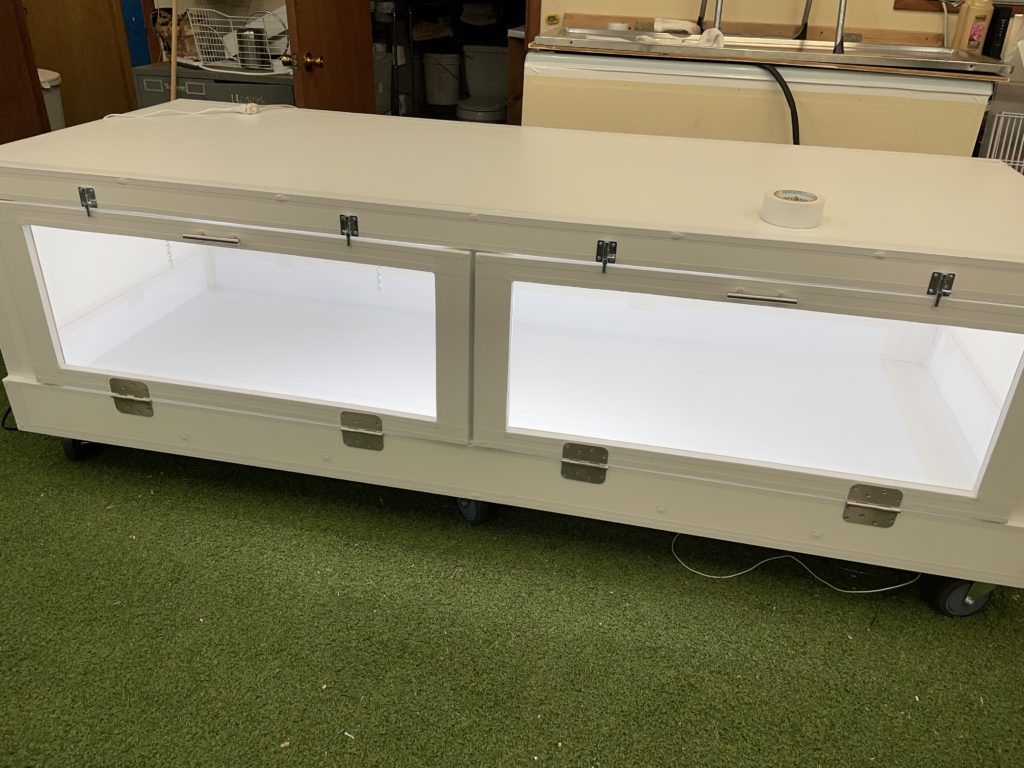
Finish off tape anywhere seams are visible.
Below is a collection of videos that show several different details involved in finishing these enclosures:
Water proof the melamine by taping all the edges:
For enclosures larger than 8×3 feet you need a frame to add strength:
Doors are complicated. Here’s some things to include:
Stowing cords so they are easy to clean and repair:
We greatly prefer downward swing doors. Here’s why:
Enrichment should be added by way of a swing!
If you’re building multiple in a stack here’s how to combine them:
How we heat multiple enclosures that are stacked together:
Follow these links to find some of the products we use when building custom enclosures:
- Belly Heat: We use heat tape for belly heat in anything larger than 5′. Our favorite local source for heat tape is the Bean Farm. You can purchase it in rolls to make yourself however that require some electrician skills. Or you can purchase pre-made heat tape sets to avoid the extra work of installing the wires and plugs.
- Thermostat: And they must be controlled with a thermostat. I use these cheaper ones because I prefer to have one on every single enclosure. If you can afford to use a herpstat on all of you enclosure they are actually a better product. There are different sizes of herpstats. They can be found at the Bean Farm or there are a few of them on Amazon.
- Protect against burns: I cover the belly heat unit with an insulating and water proof tray made from corrugated plastic. That helps keep the enclosure clean and dry as well as protects the animal from burns by allowing them to sit right on top of their heater.
- Basking spot: You can us a Ceramic Heat Emitter at one side to provide a basking spot but know they can significantly lower humidity. CHE’s are also a fire hazard and burn risk so need to be in a correct fixture and guard. Radiant heat panels are far superior to the CHE due to safety and space needed. Here are some of the different types. – Sweeter Heater – ProHeat – Vivarium Electronics – Wilbanks
- We love using plexiglass for doors because you can drills holes in it for installing door handles and locks, or for adding ventilation. Be sure to use the thicker panels. They can be cut to size using a circular saw with a 60 tooth finish blade.
- Plexiglass doors flex though so you need to install hook style locks that prevent your snake from squeezing out between the two panels.
- We keep a few different sizes of machine screw and bolts on hand for projects like this. Depending on the thickness of your plexiglass a 1/2 or 3/4′ screw usually works well. If you get #8 size they will also work for installing cabinet door handles as well for easy opening and closing of your doors.
